Useful tips for creating a template
The points described in this article will help you avoid the most common mistakes and improve email templates.
You can read more about the template creation process in the article How to create a template?
Using the visual builder
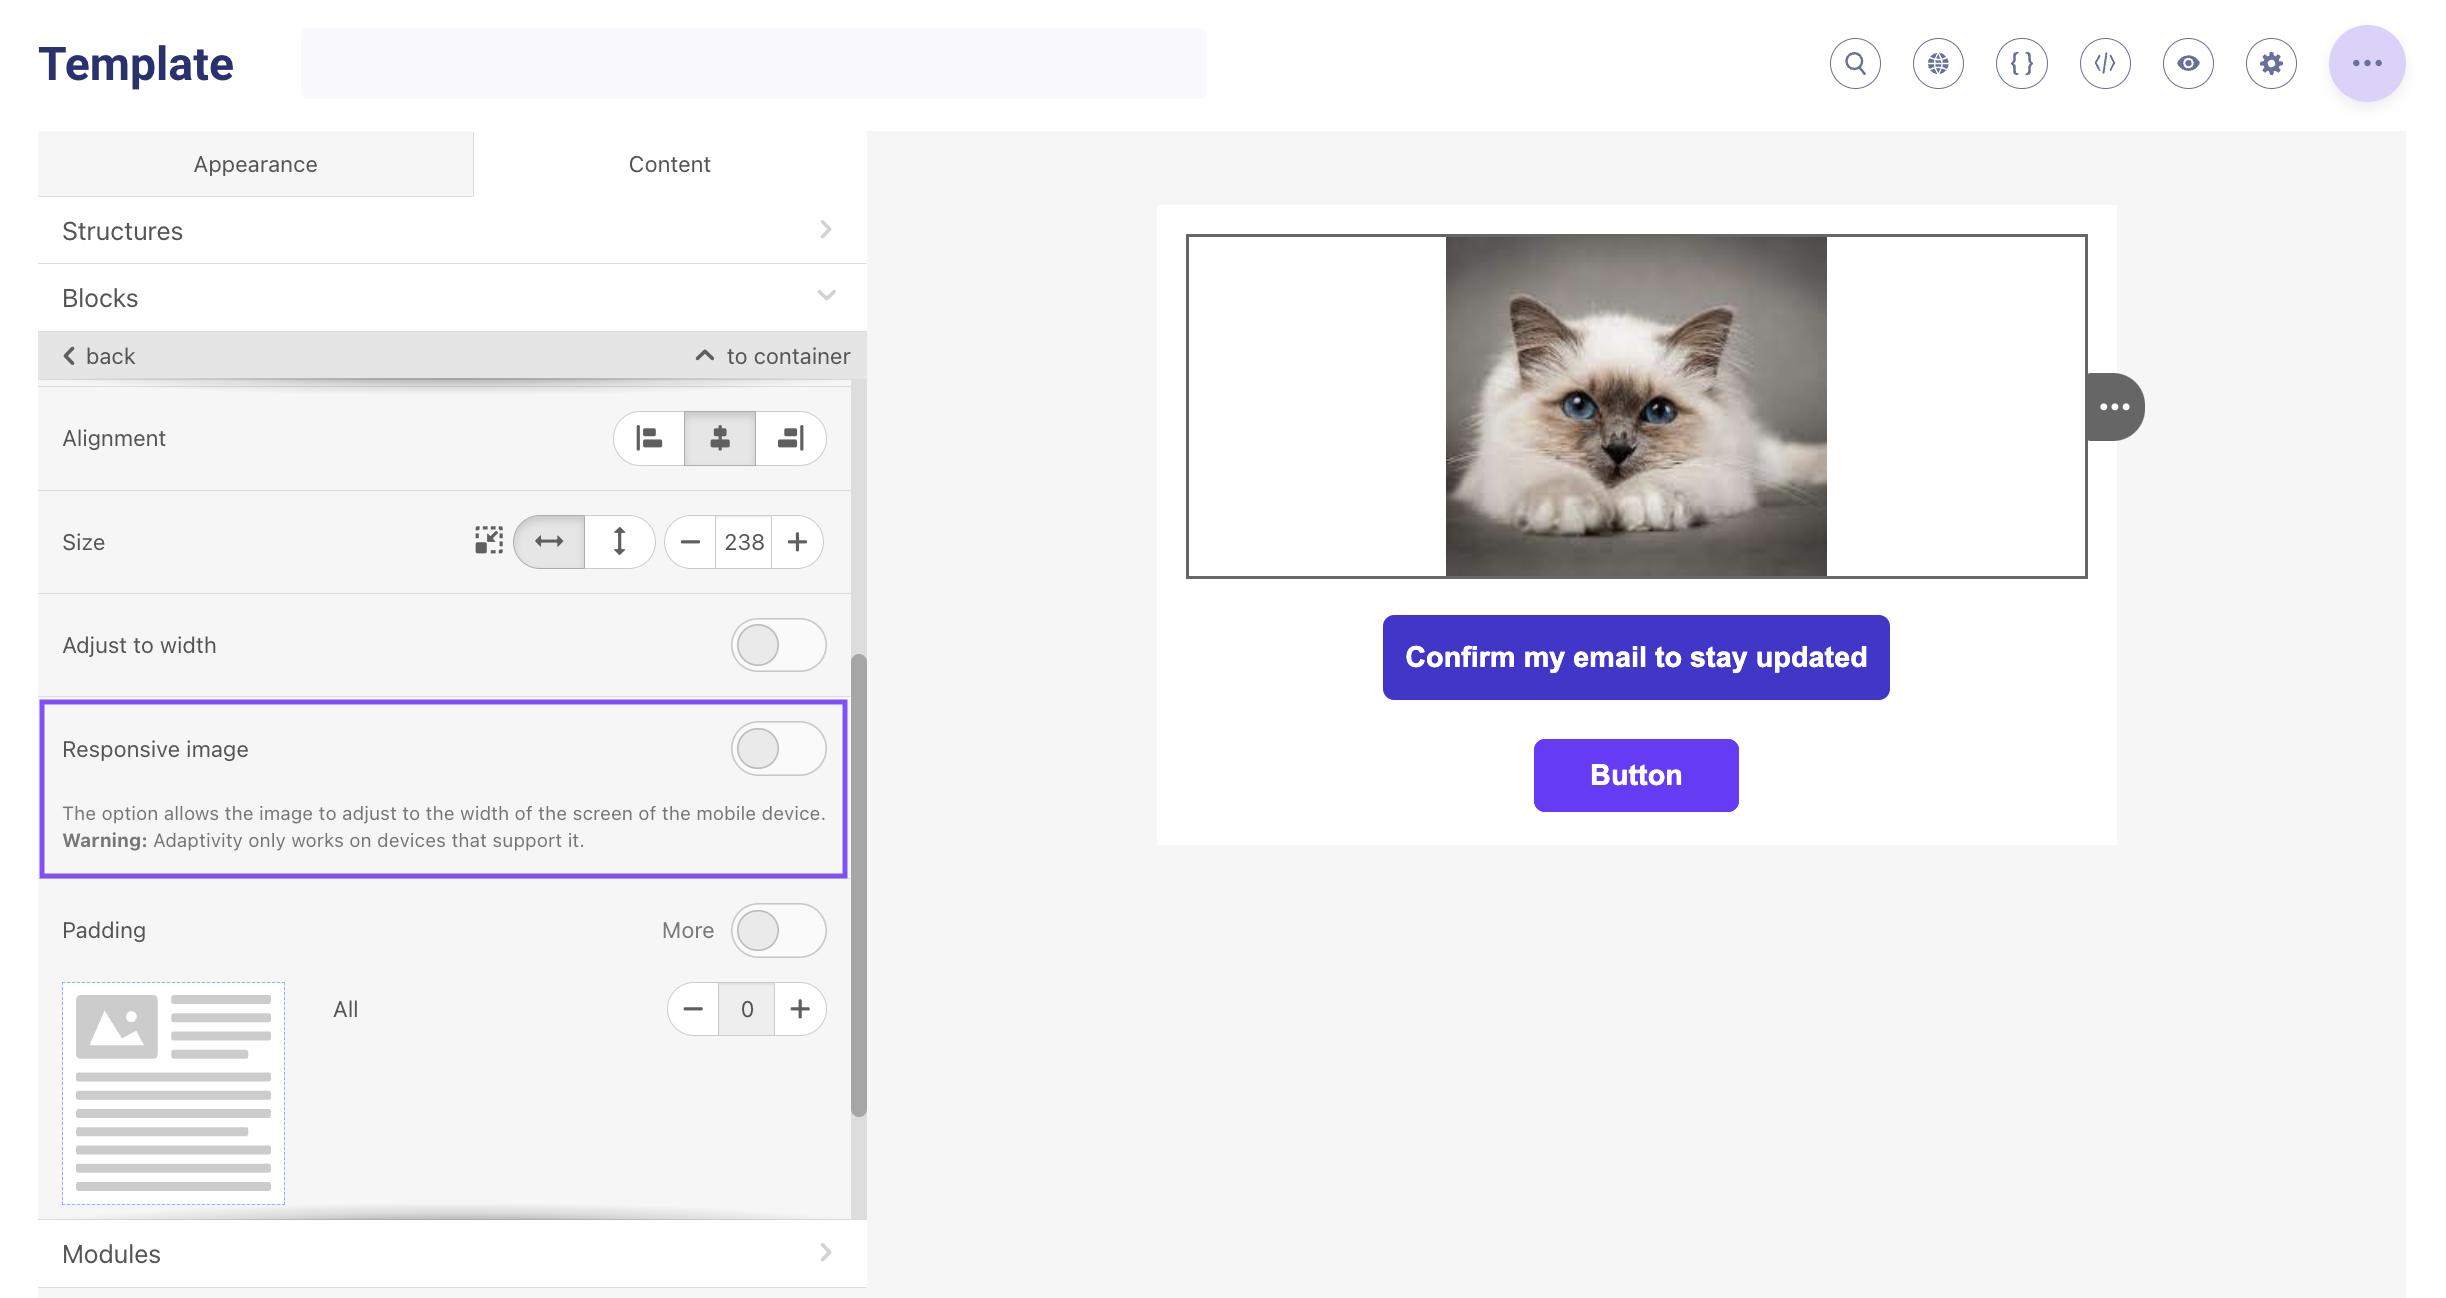
1. How to ensure the image on the mobile does not stretch to the full width?
Сlick on the desired image and disable the option Responsive image in the editing panel on the left. By default, this feature is enabled for all images, and at 600px, the image is stretched to the full width.
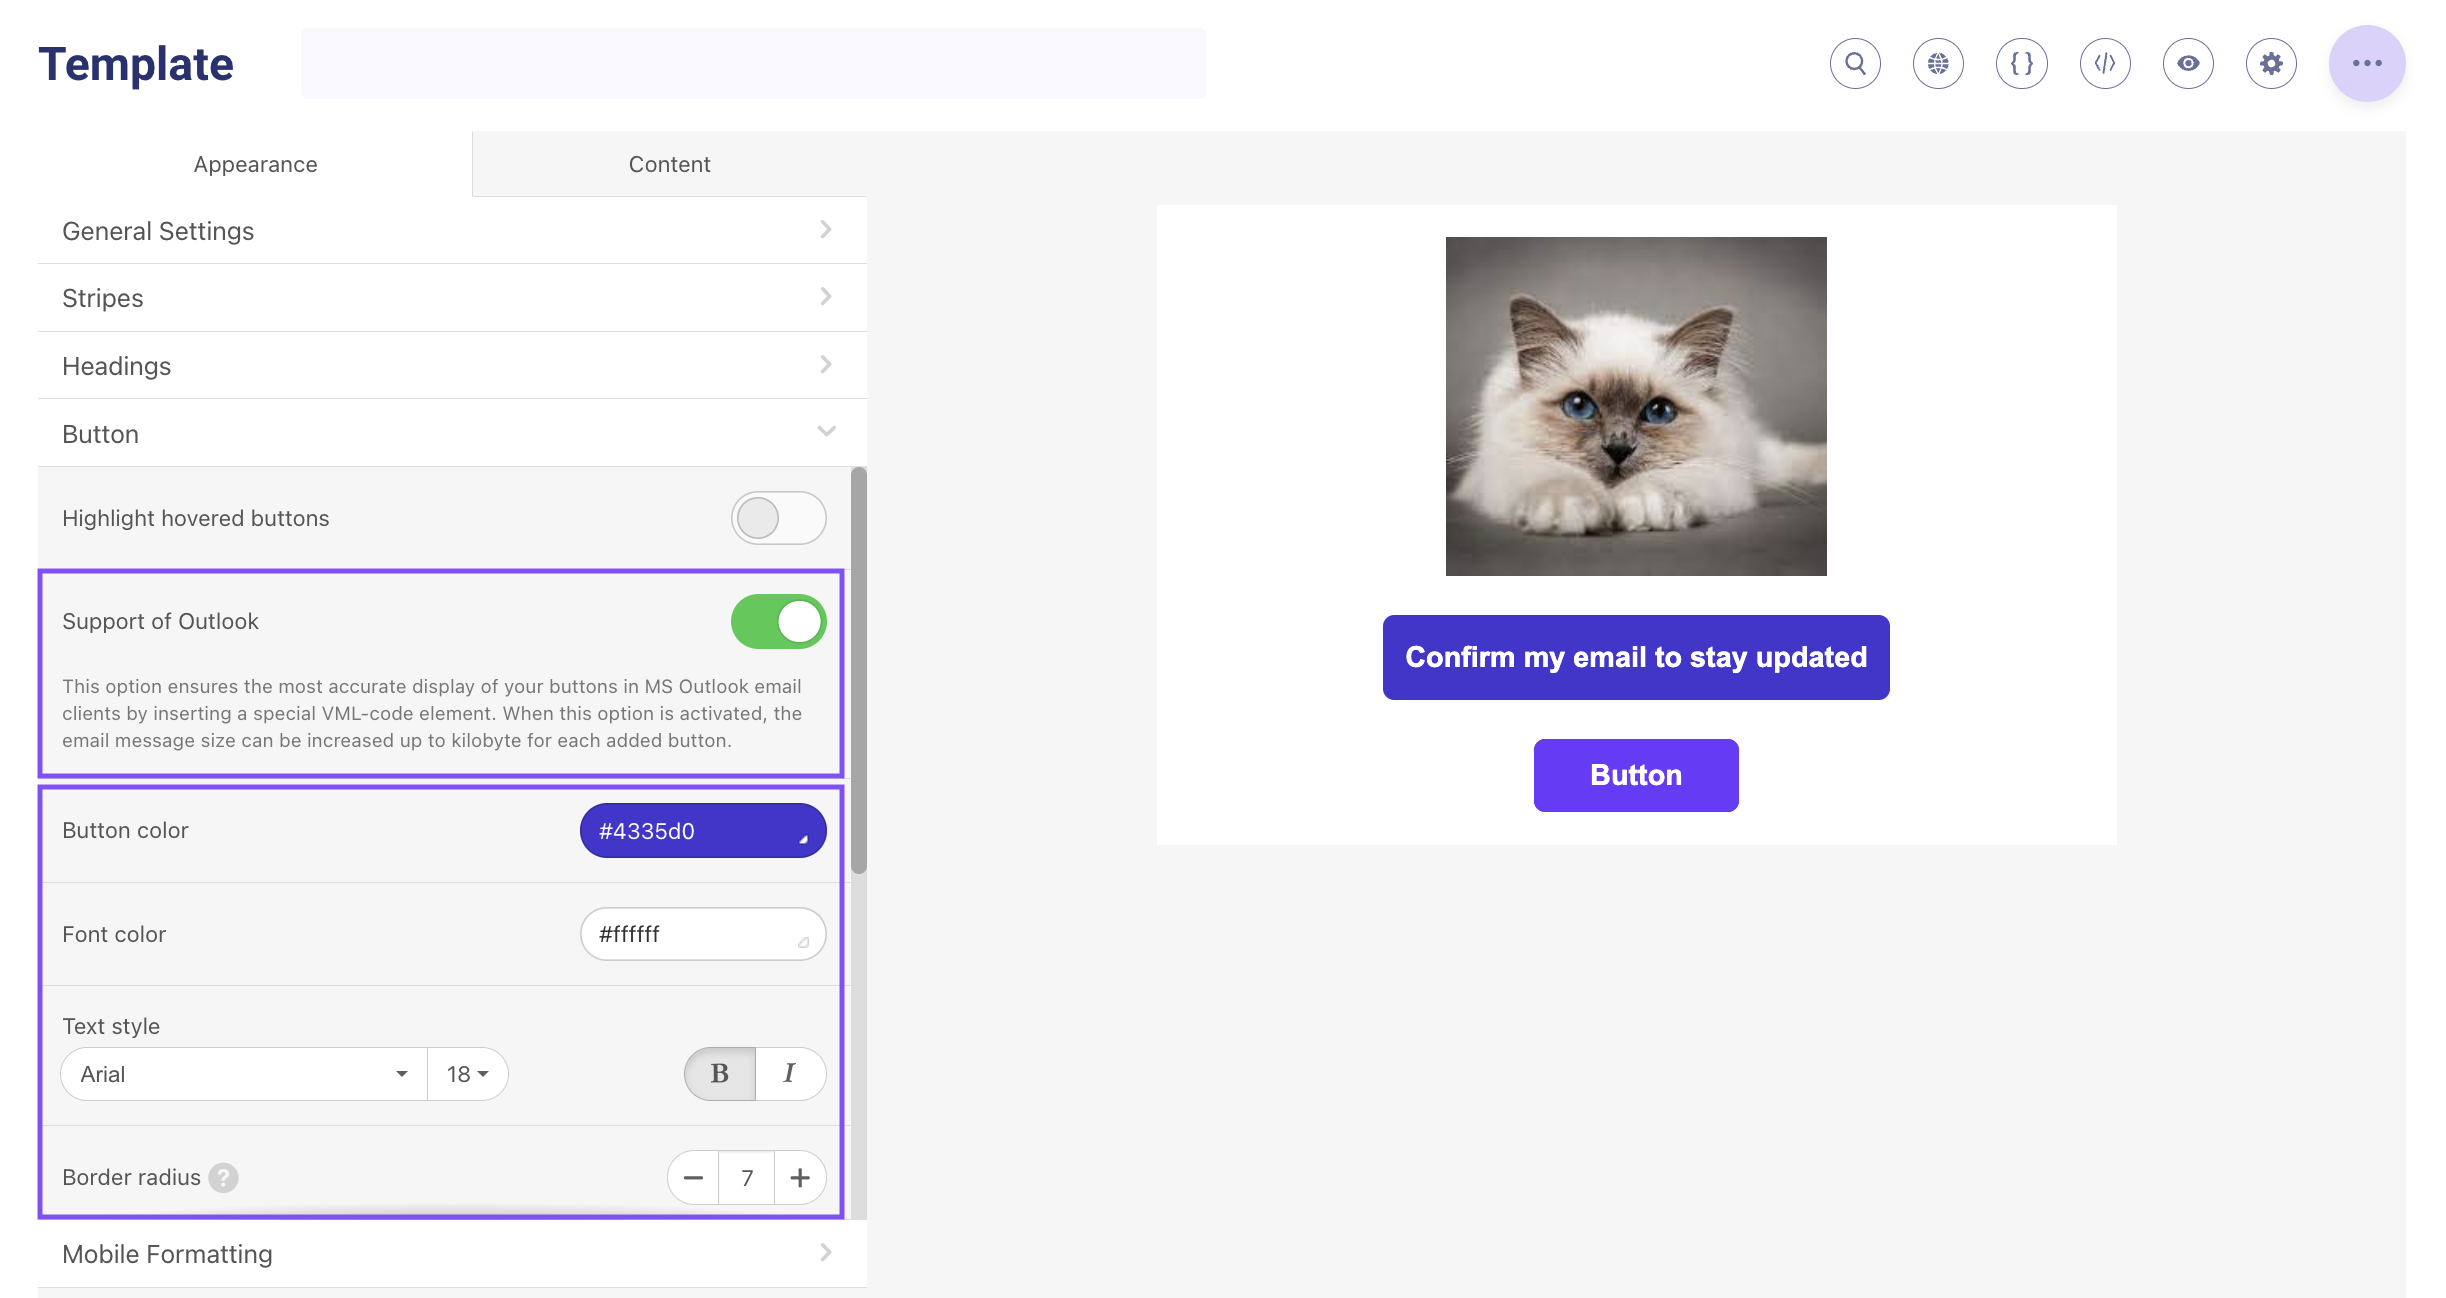
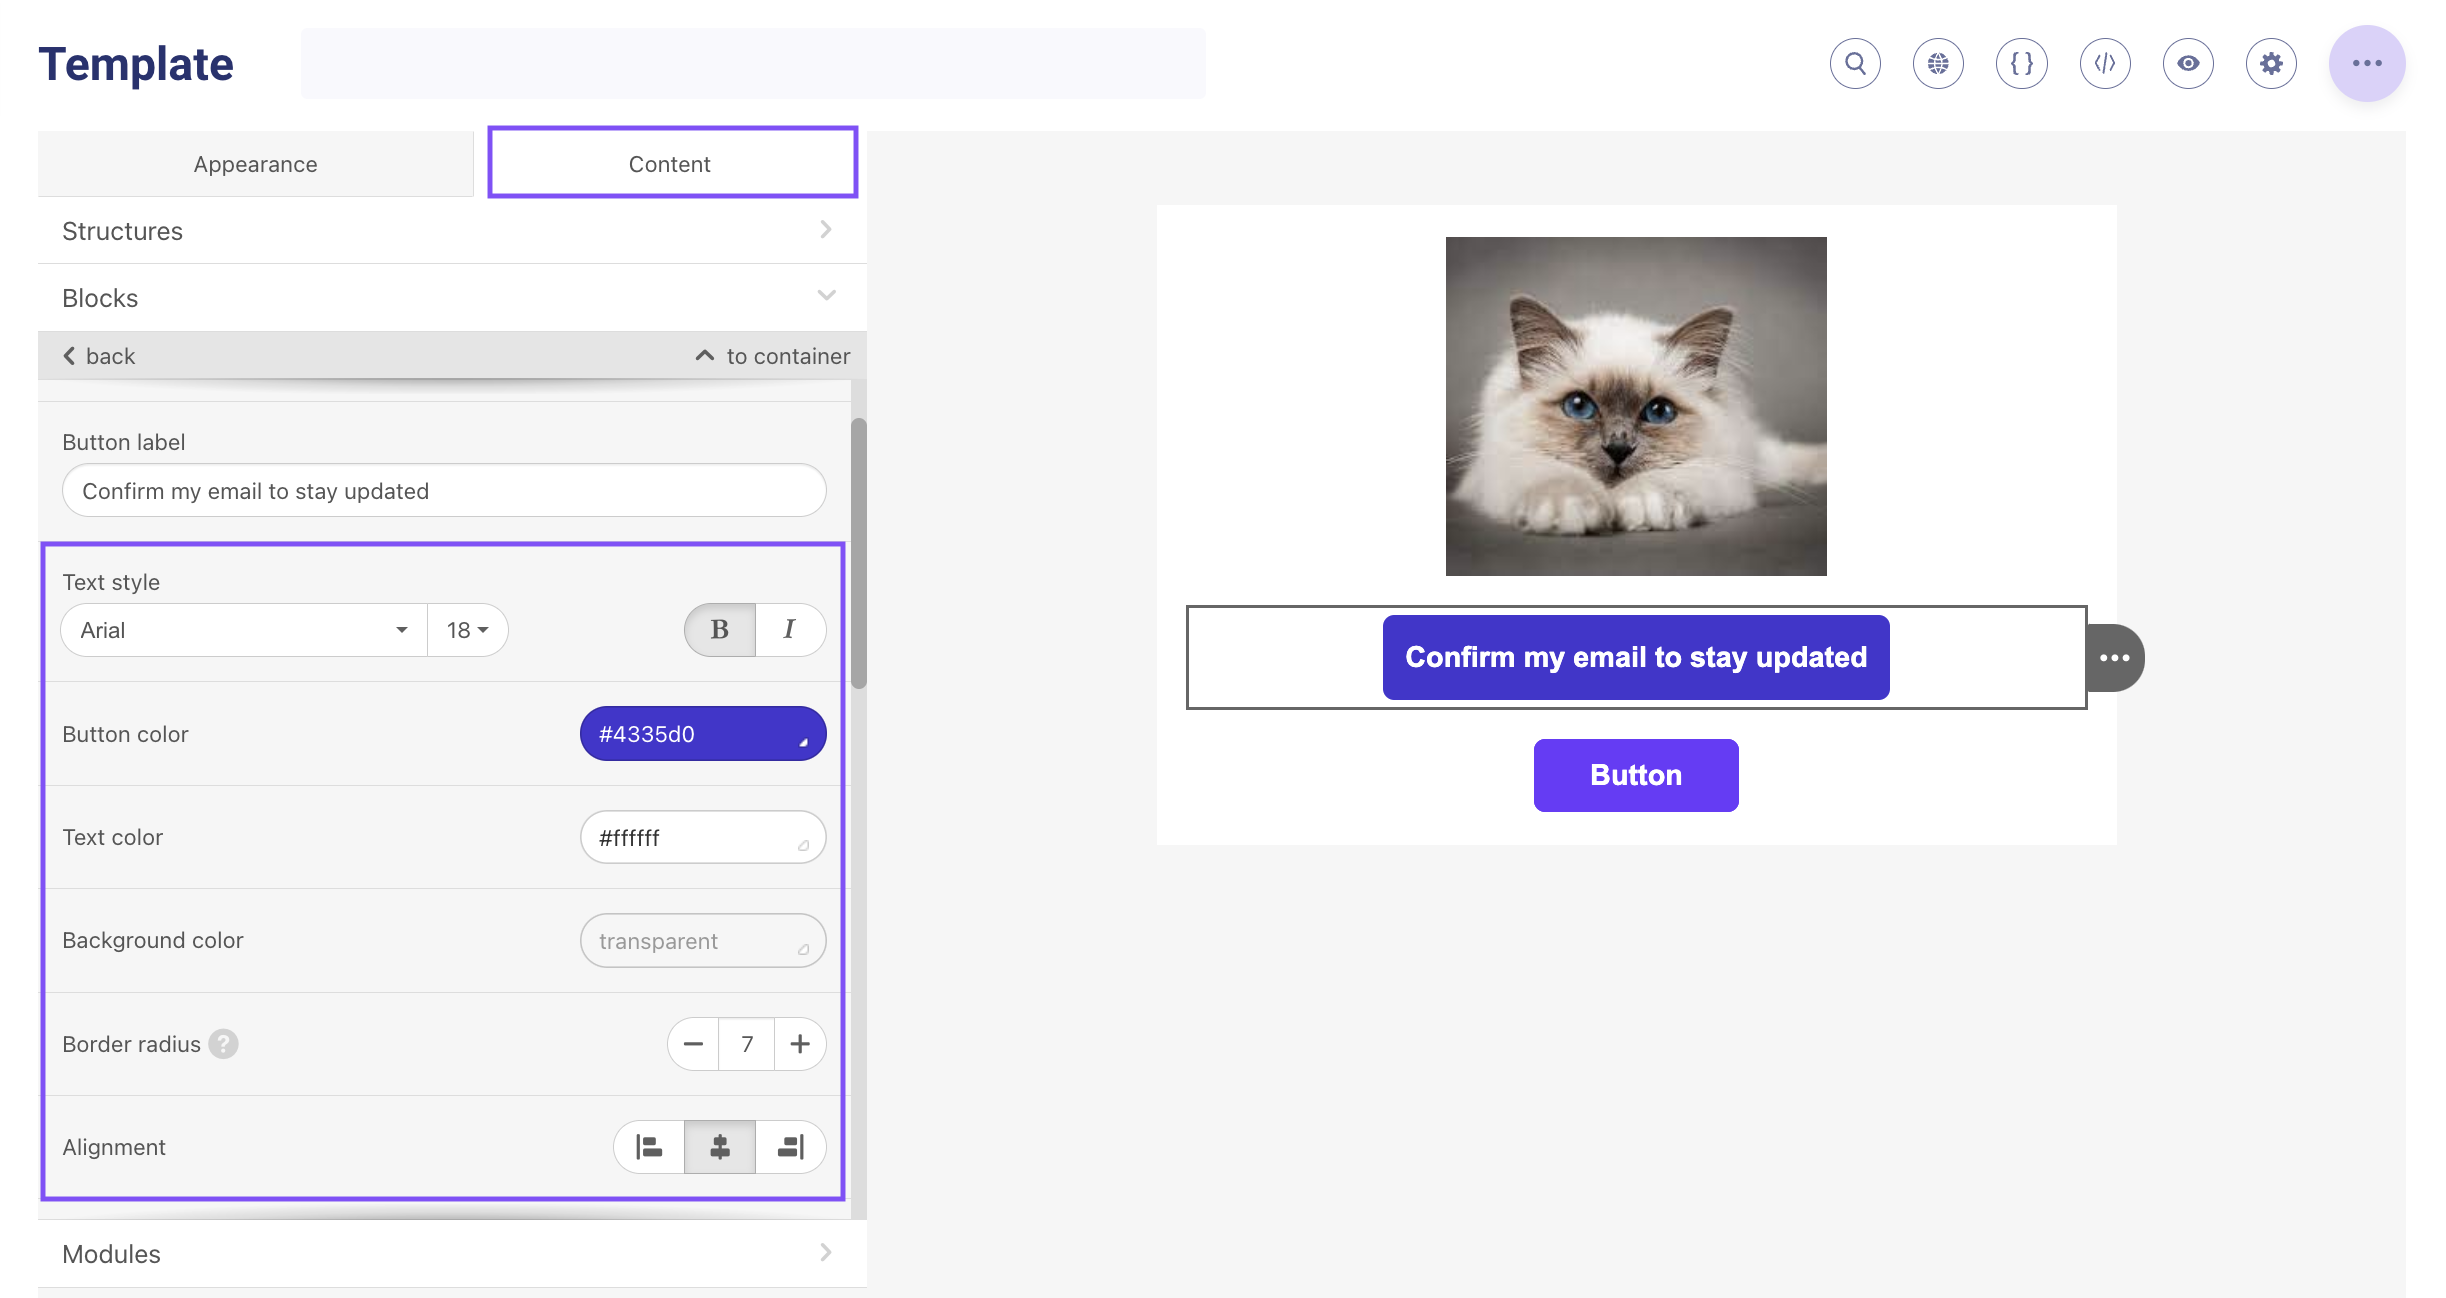
2. How to improve a button's appearance in Outlook emails?
- 1. Go to the Appearance > Button section;
- 2. Enable Support for Outlook option;
- 3. Finally, duplicate the styles that you specified in the Content section.
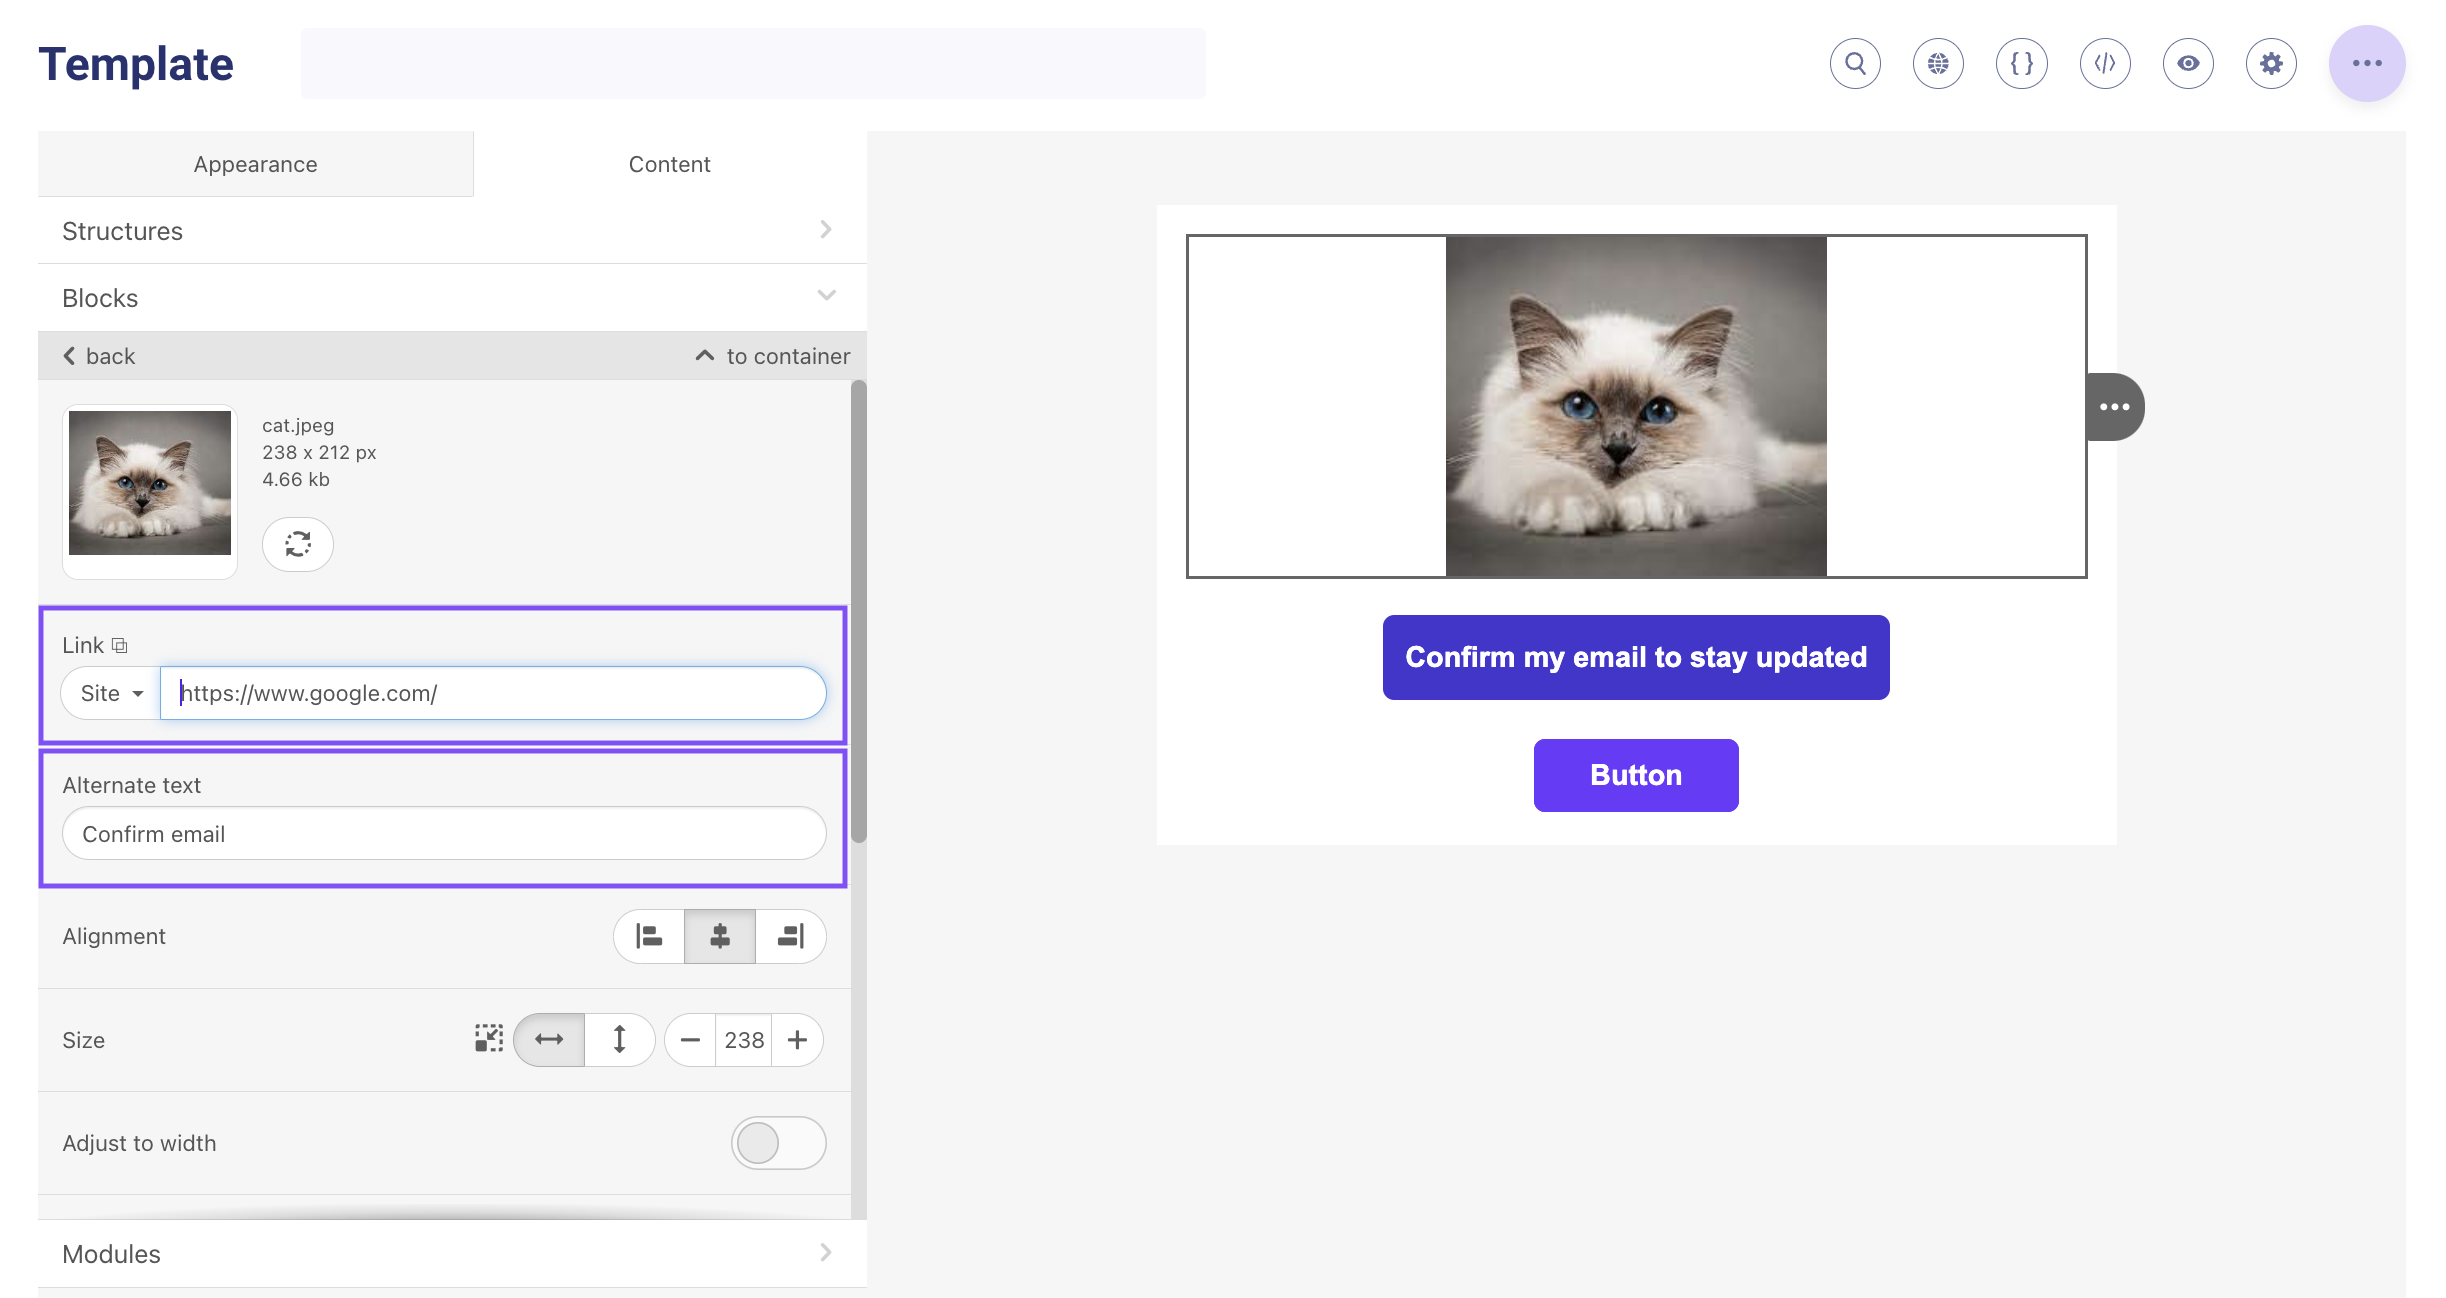
3. How to wrap an image into a link and add alternate text?
Choose the required image and fill in the fields Link та Alternate text as shown in the picture below:
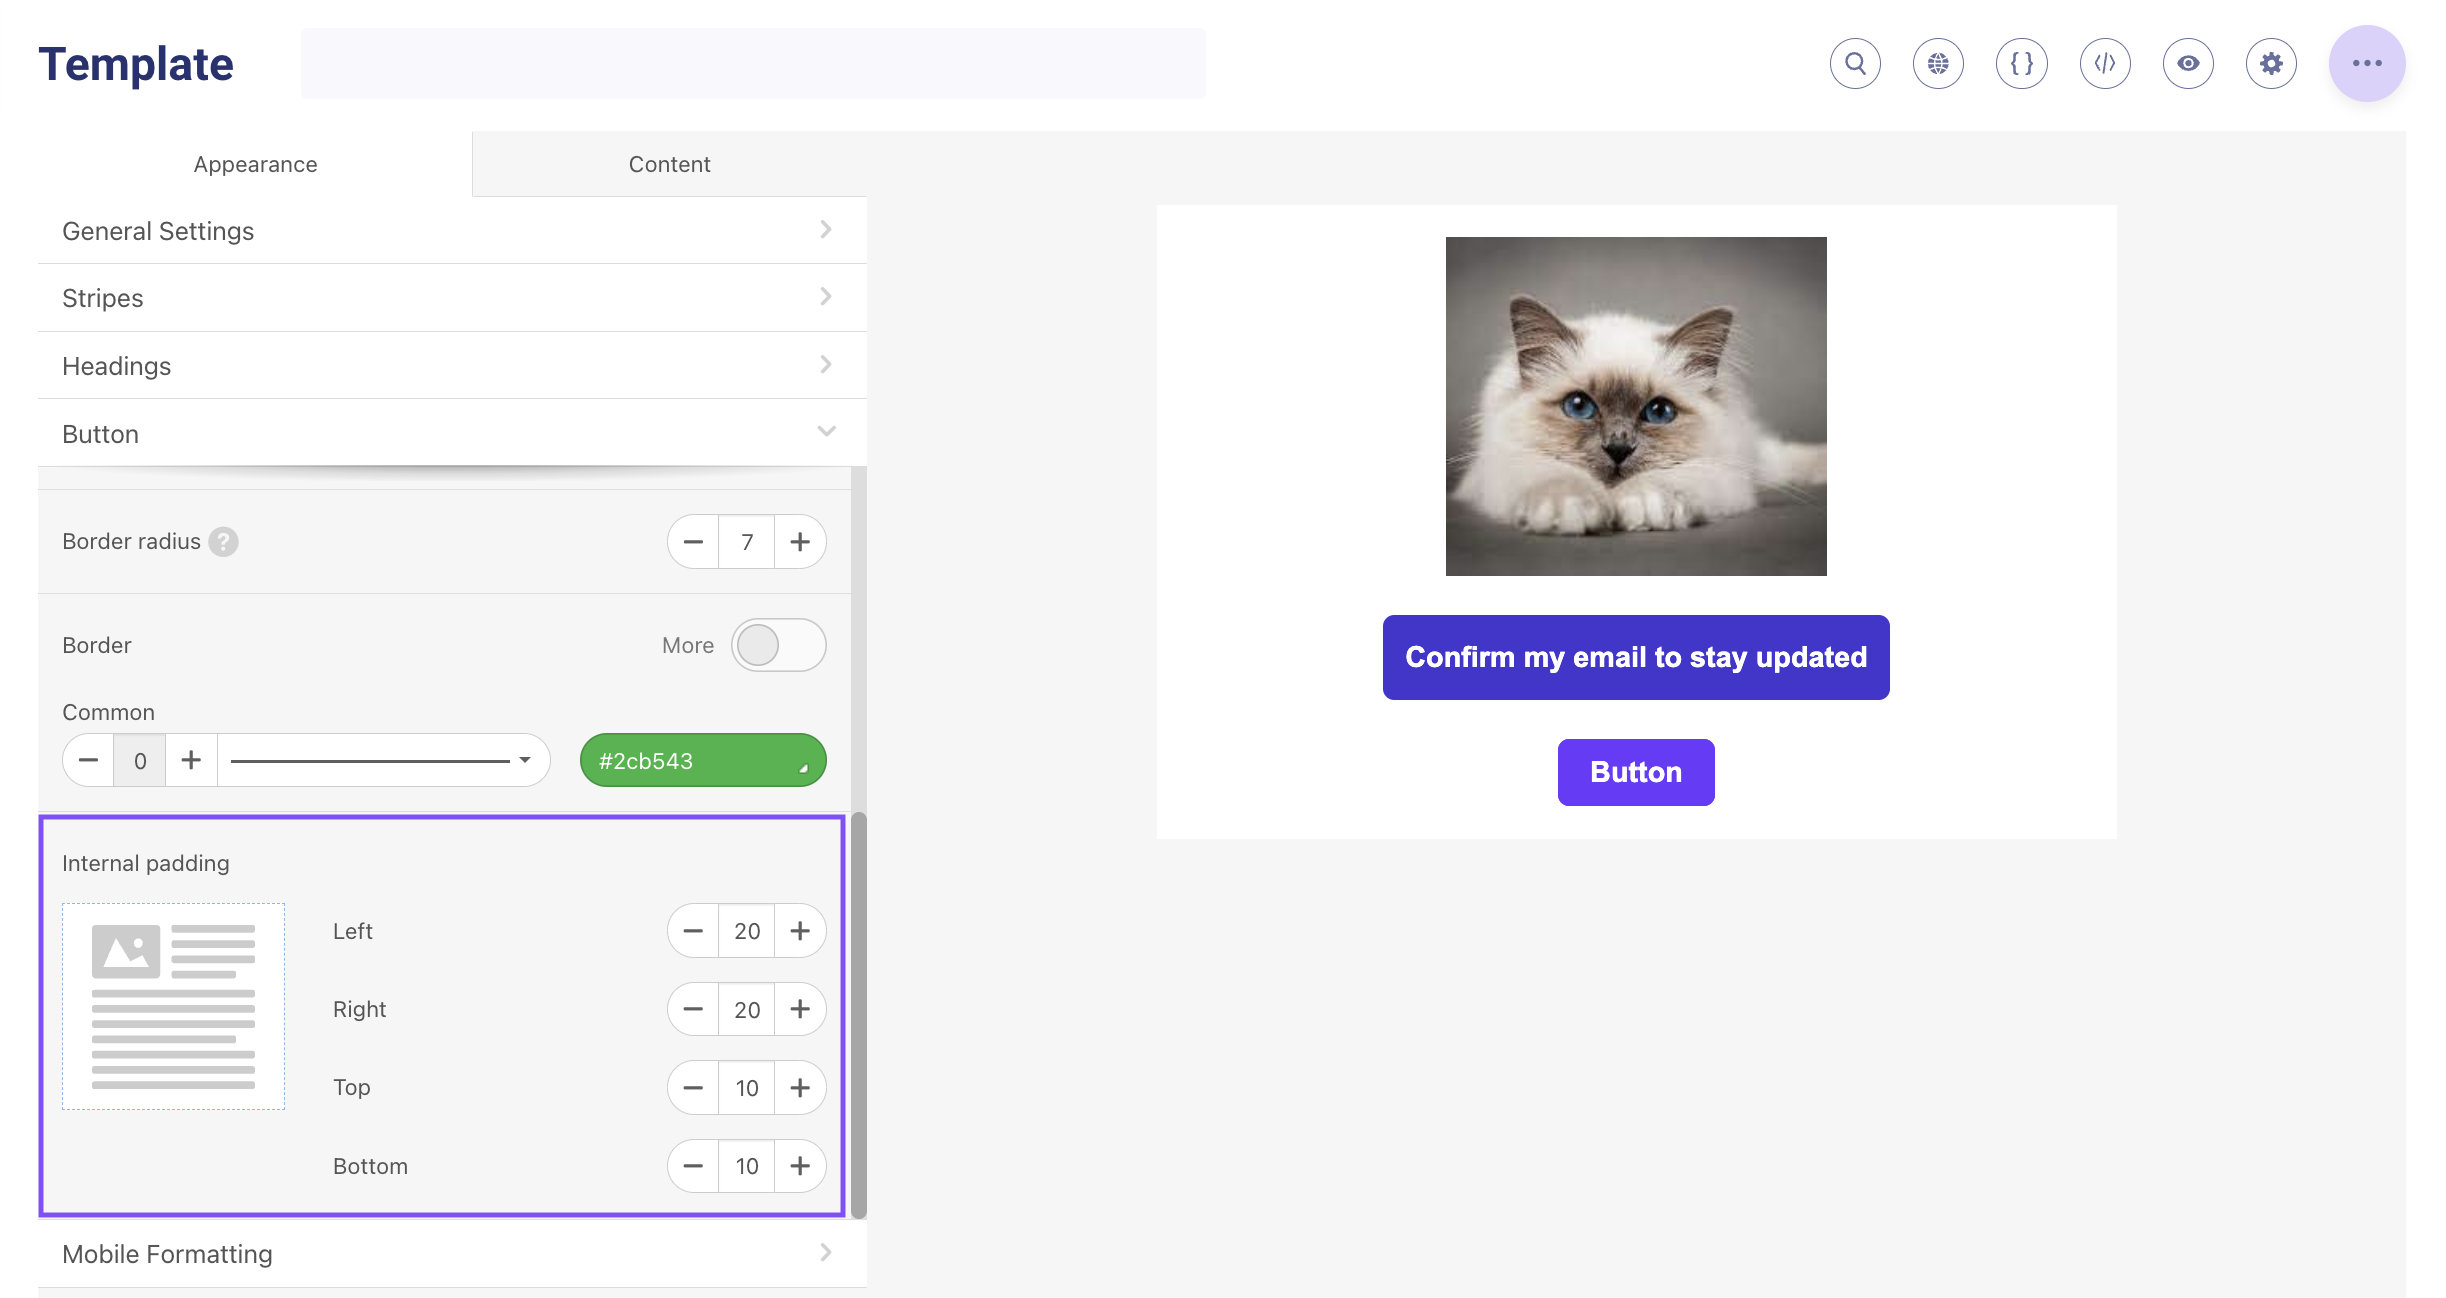
4. How to make sure a button containing a lot of text is displayed correctly on a mobile device?
- 1. Click on the desired button in the Appearance section in the left-side menu to decrease Internal padding values;
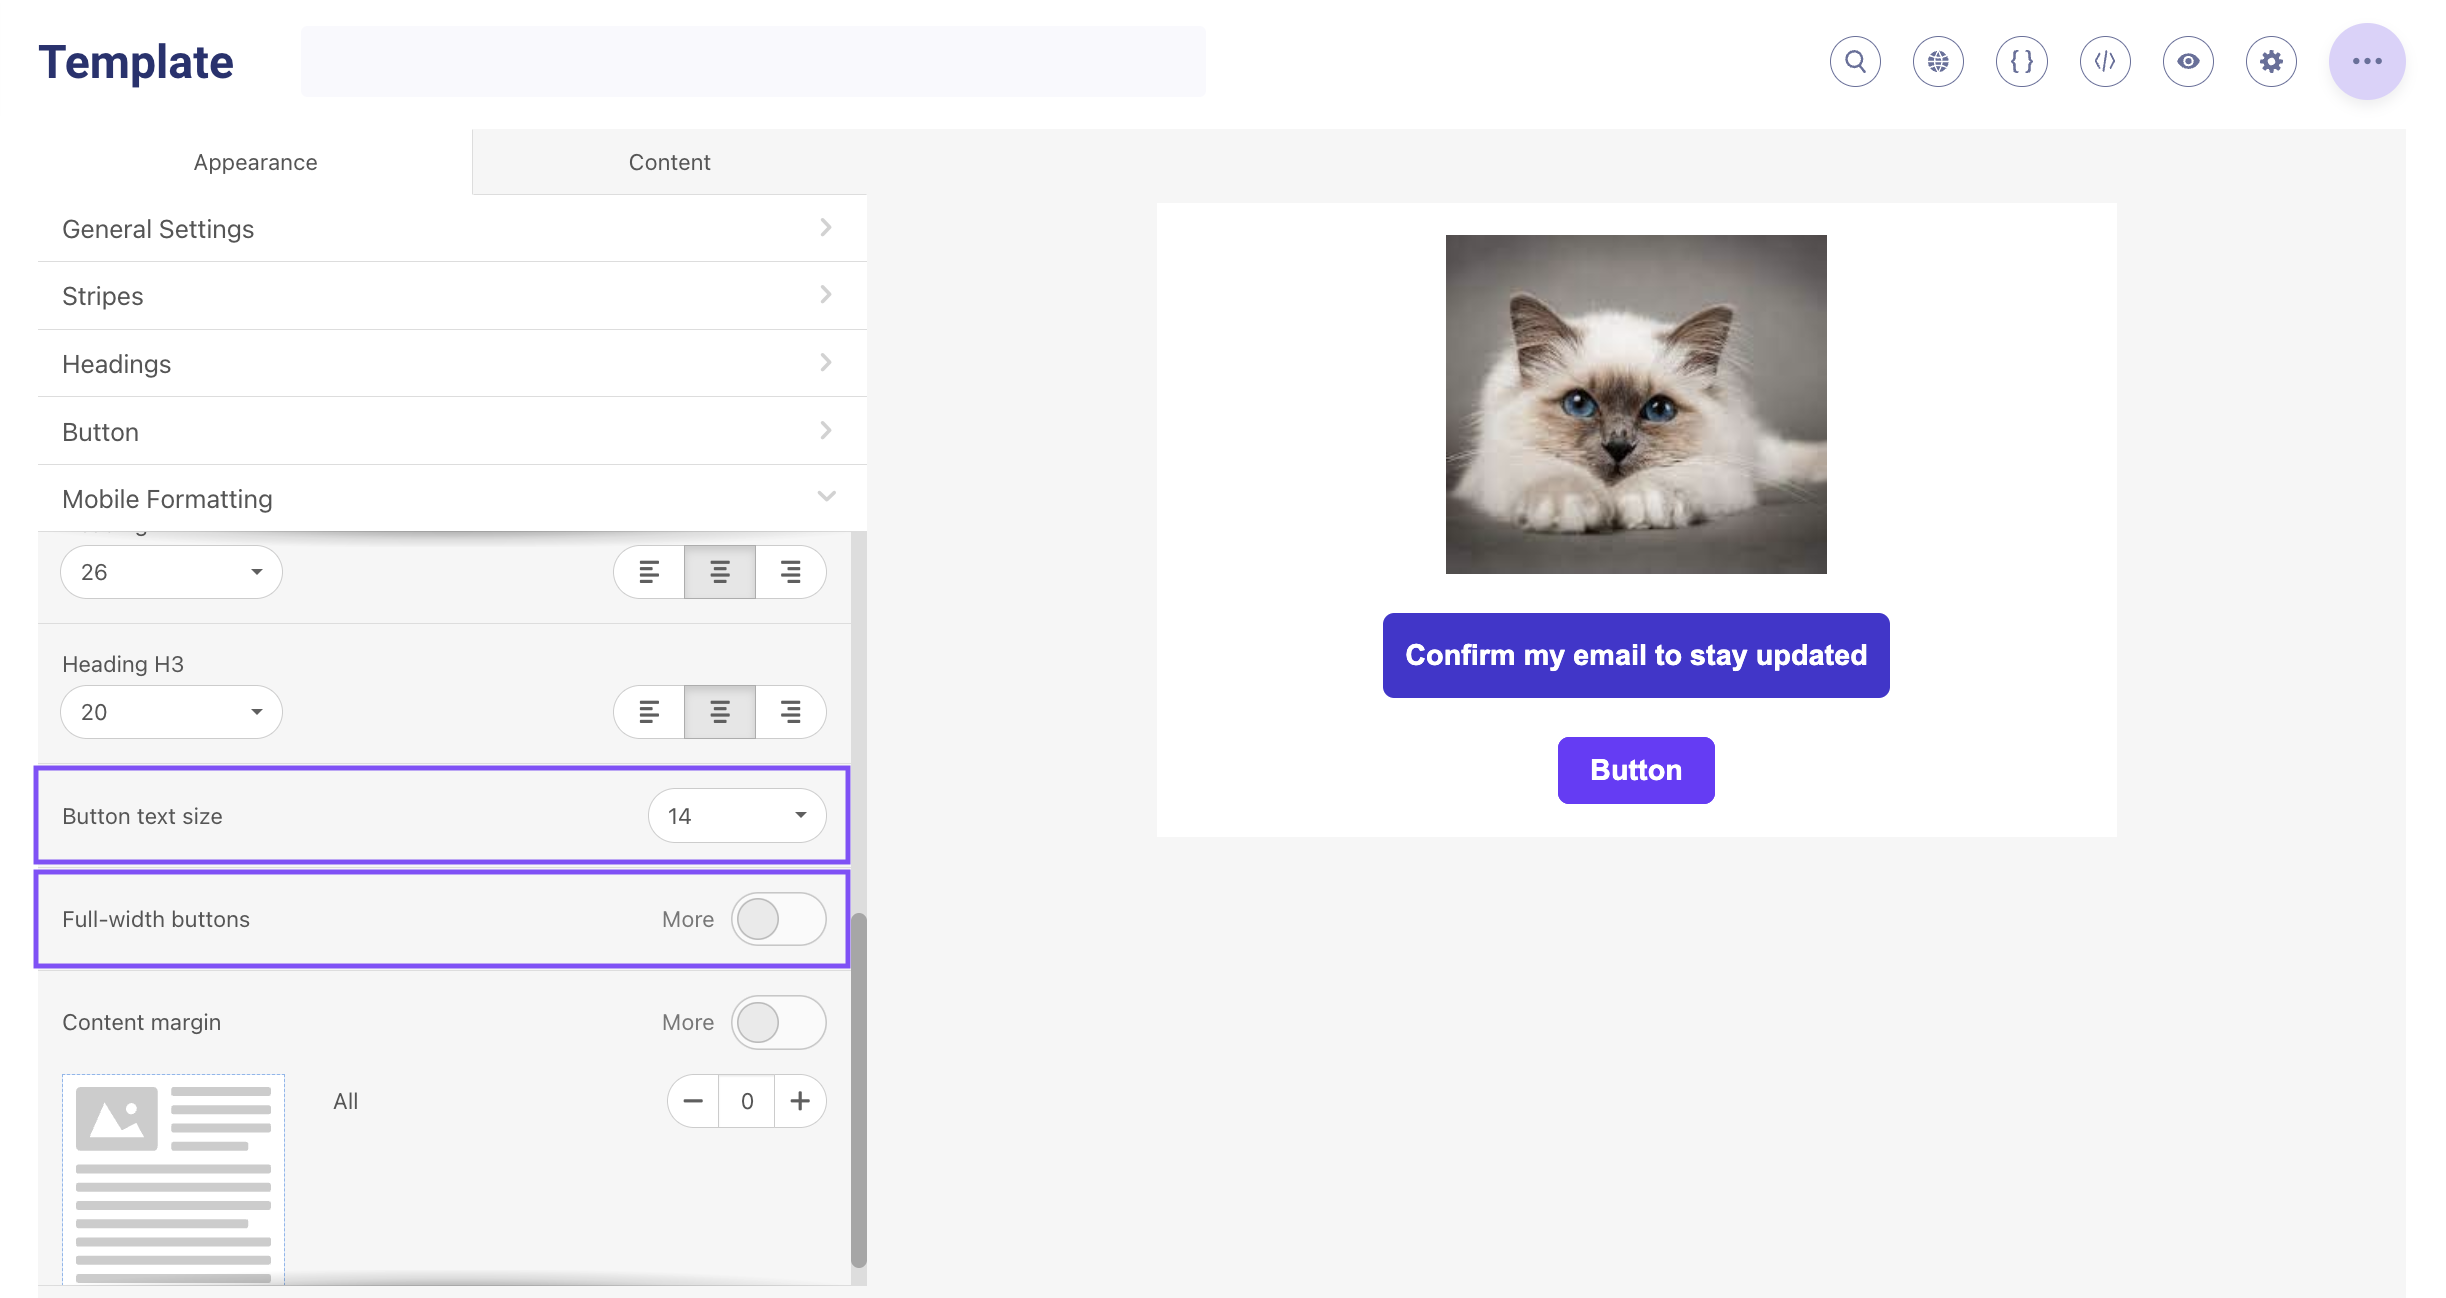
- 2. Go to the Mobile formatting section and reduce the text size in the Button text size field, and preferably do not activate the Full-width buttons option so that the button does not stretch to the entire width of the container;
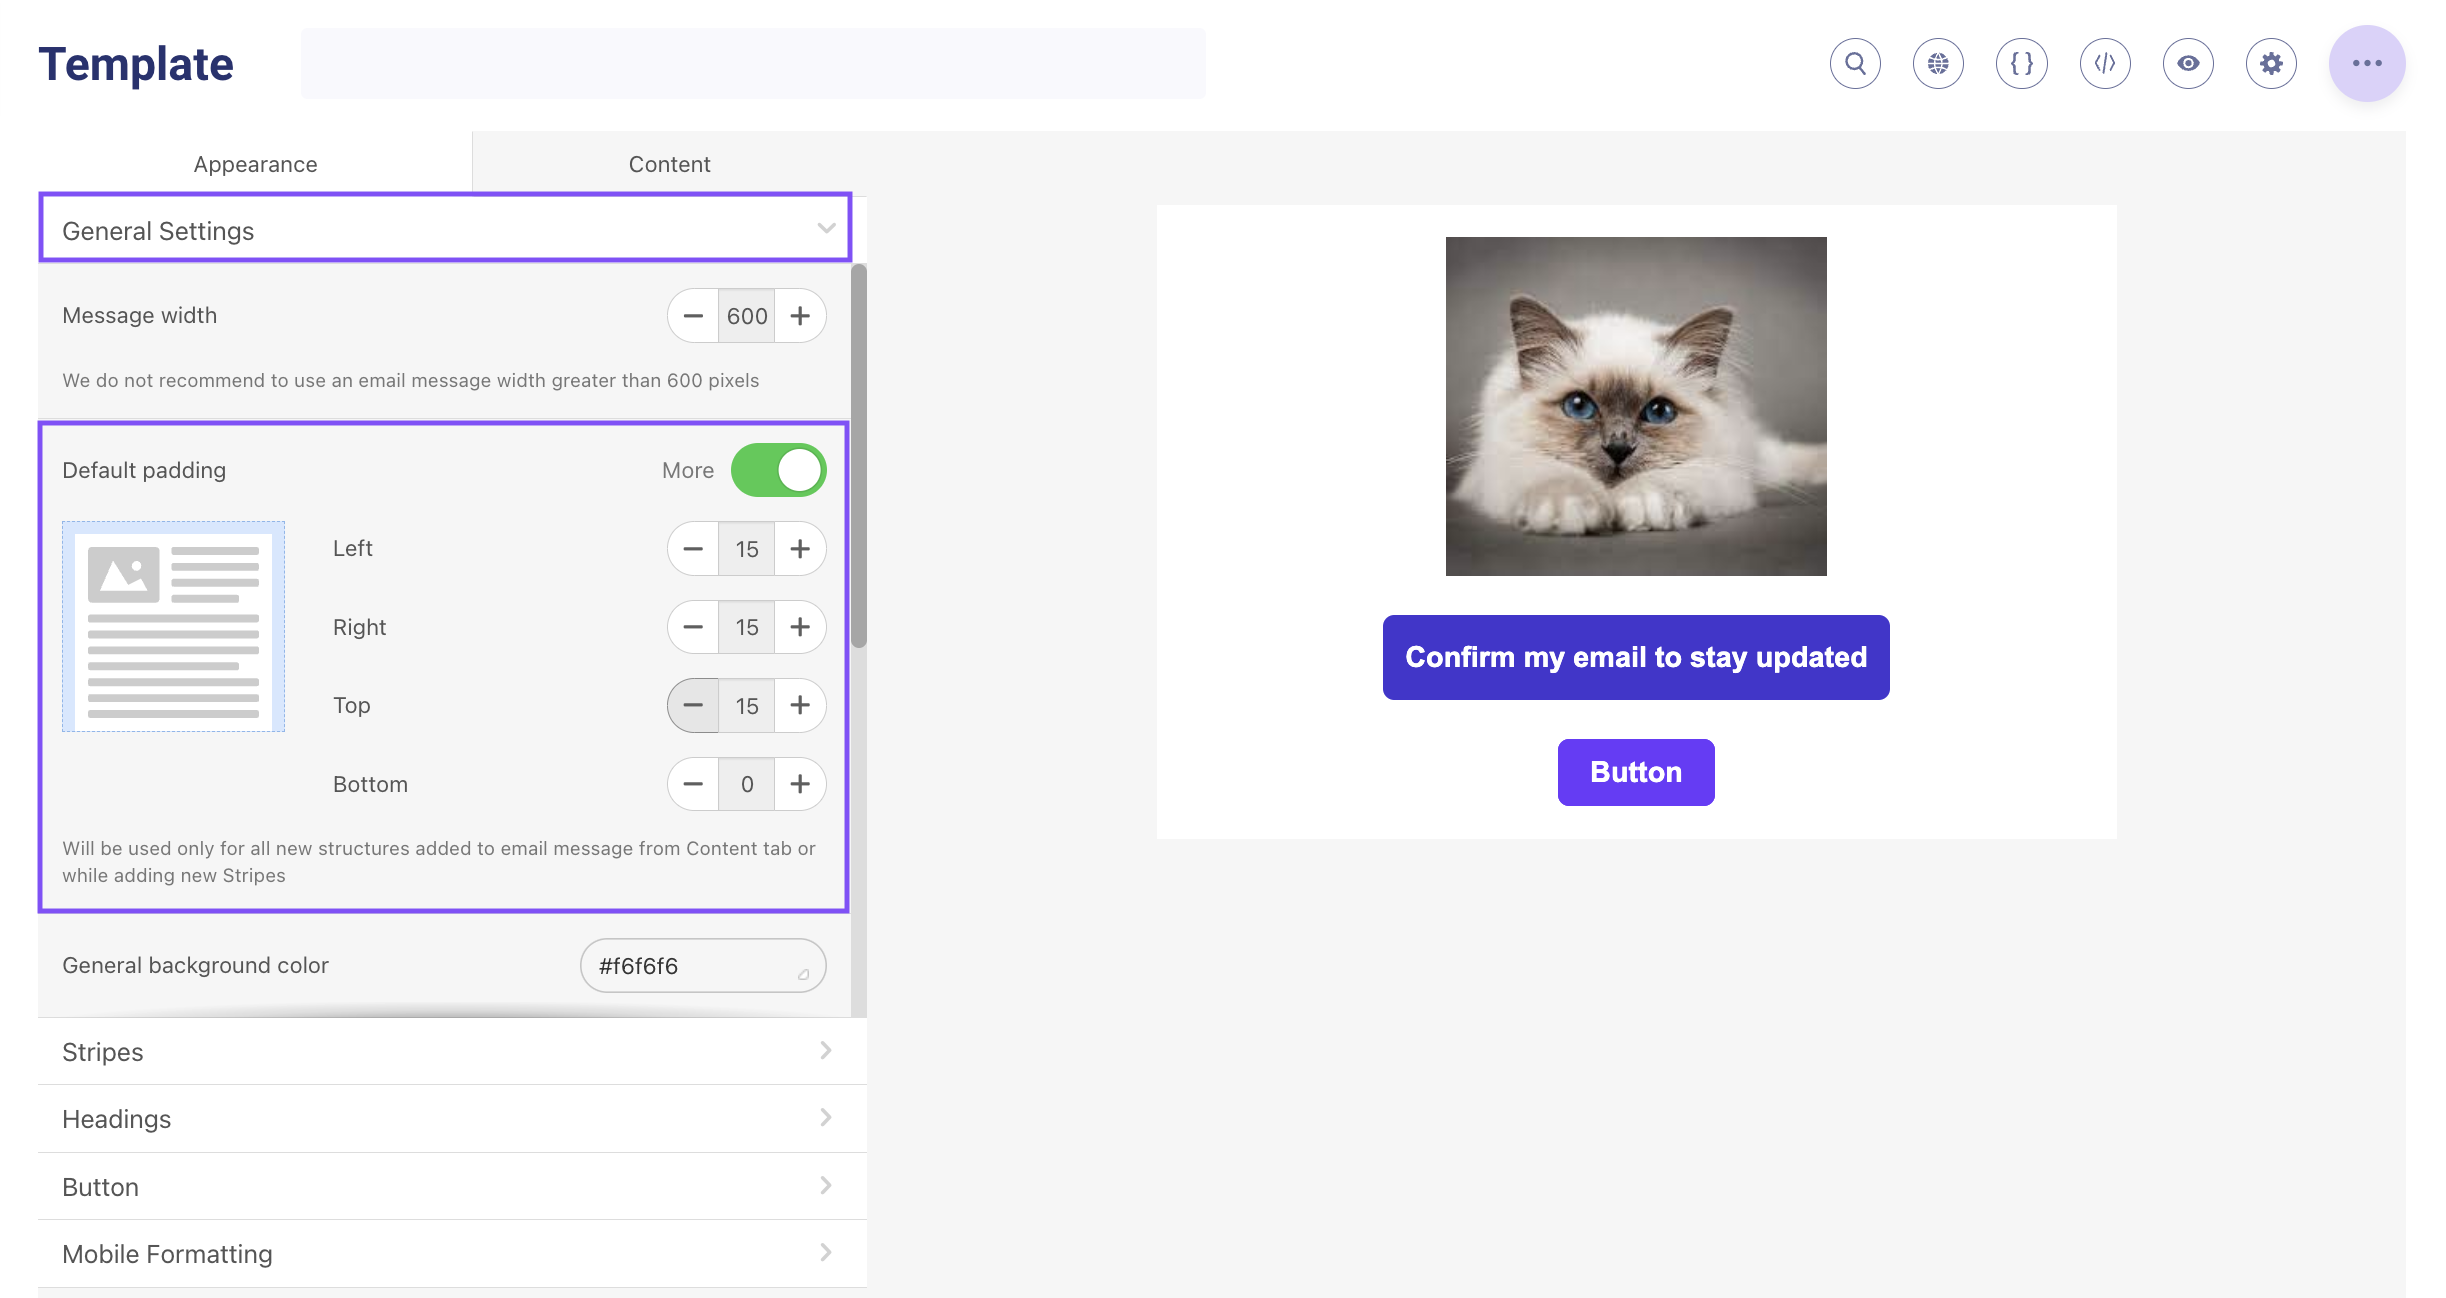
- 3. Go to the General settings menu and reduce the margins in Default padding.
Using variables in templates
5. How to correctly use the country variable to set a condition?
You need to use 3-character country code (e.g., 'CAN', 'USA', etc.) when setting conditions in the templates.
It looks like this: {% if user.country == 'USA' %}{% endif %}.
6. How to check the correctness of variable and a condition itself?
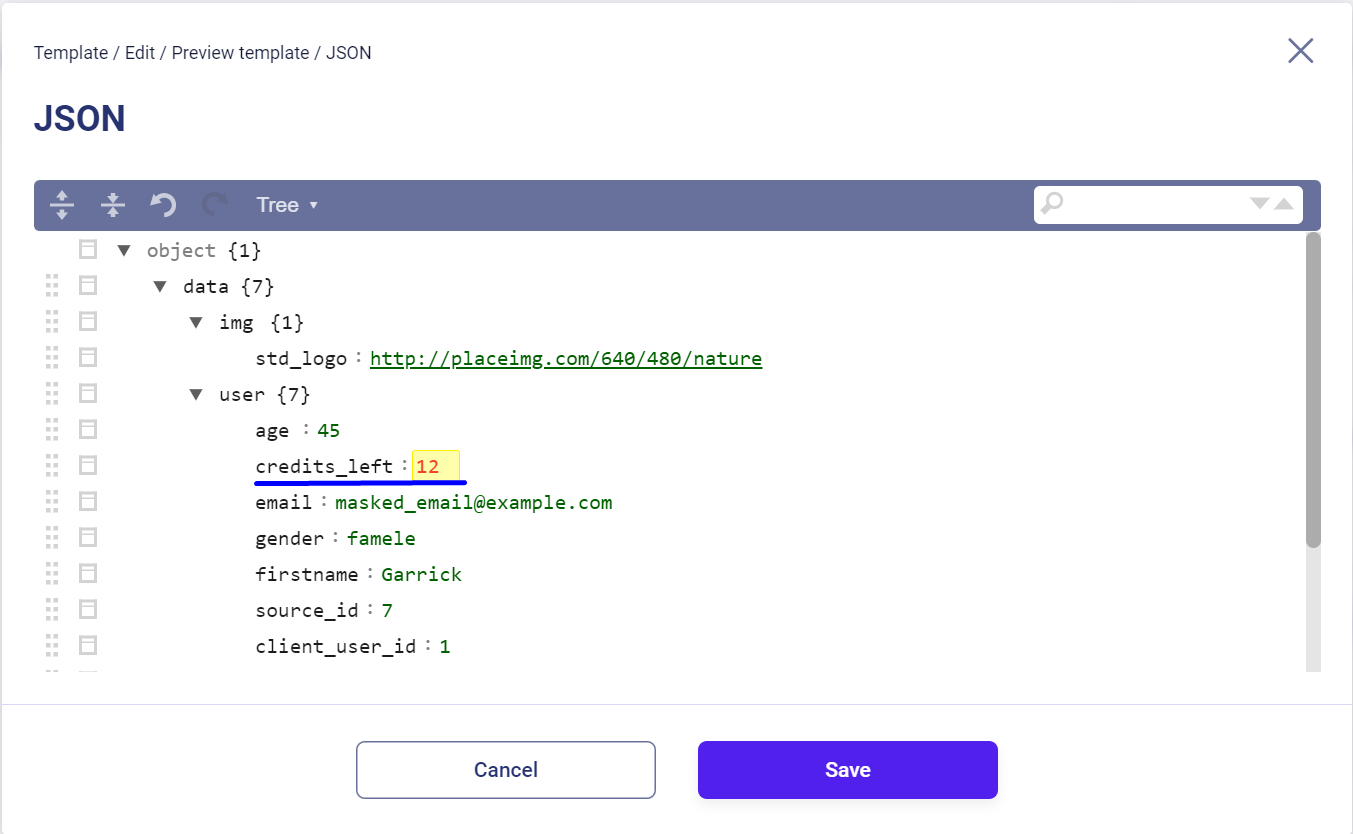
For instance, within the email, there's a section intended exclusively for users who have over 10 credits.
      {% if user.credits_left > 10 %}
      Content
      {% endif %}
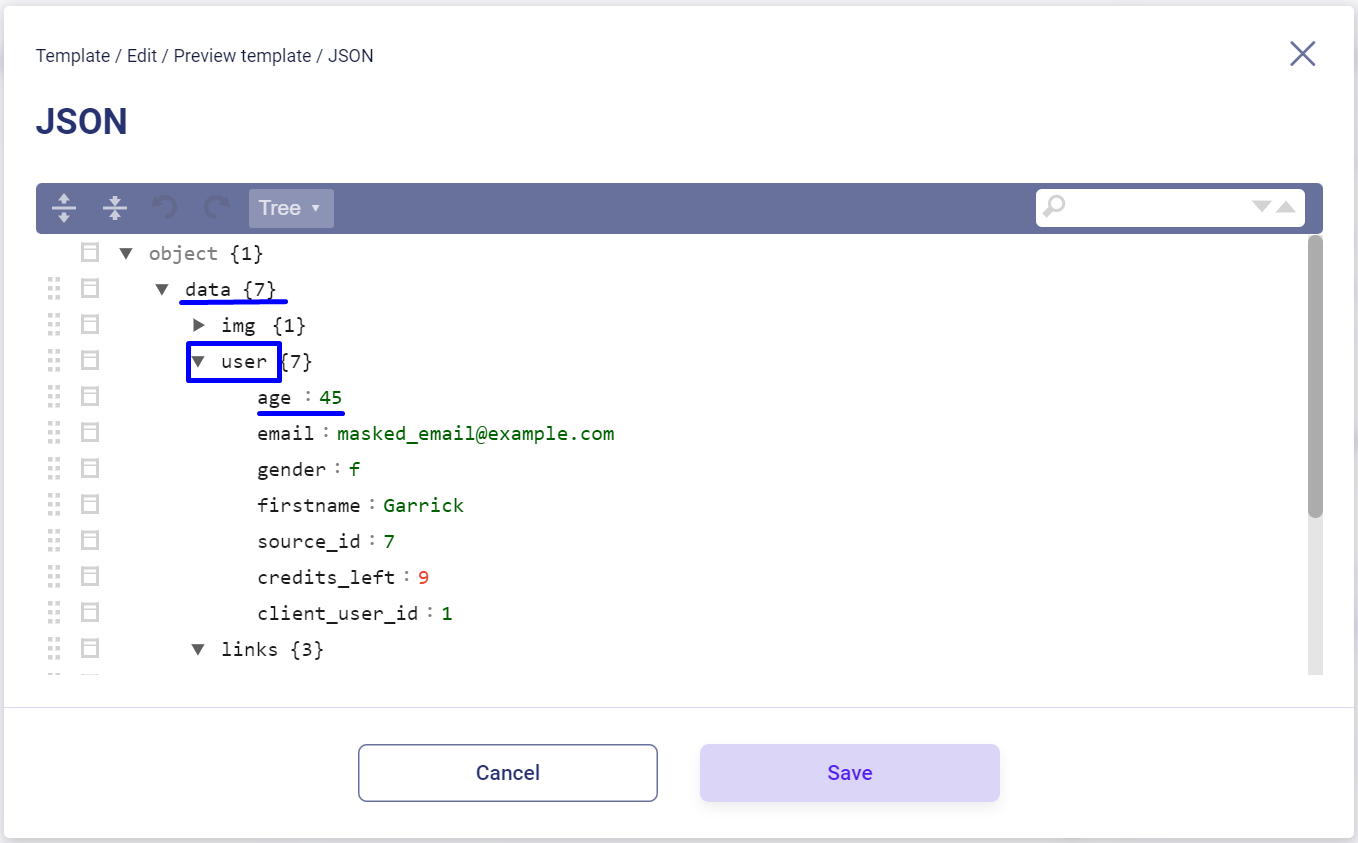
To check how the function works, find the variable in the JSON. If it's not present, add it and evaluate how the condition behaves with various variable values.
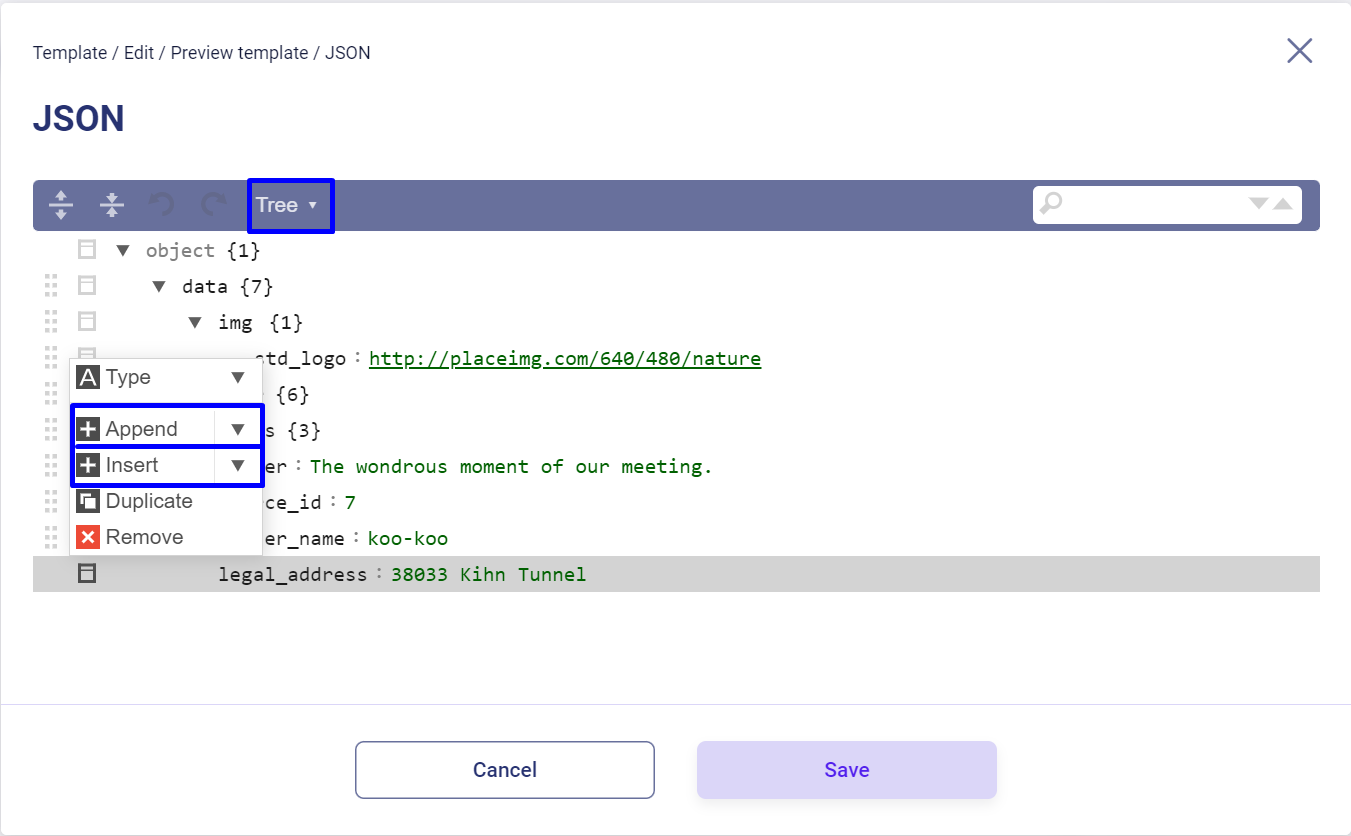
How to add a variable in JSON?
- 1. Select the Tree editing mode;
- 2. In the menu, choose Append/Insert;
- 3. Add the name and value of the variable;
- 4. Save in JSON format;
- 5. Click the Show in Preview button.
7. How to check the use of dynamic variables in the email template?
Dynamic variables are values passed within the "data" array and are not stored on the Sendios platform. They are typically conveyed for a specific type of email.
👍 More information about variables can be found in the relevant article Variables: their types and differences.
For instance, if you want to insert the user's age from the JSON mentioned above into the email, include the variable in the email text as follows: {{ user.age }}.
To get the values of dynamic variables, follow these steps:
- 1. Open the required template and click Preview;
- 2. Go to the Dynamic Variables section;
- 3. Choose the Upload JSON option;
- 4. Upload the JSON file corresponding to the email type;
- 5. This section will display all variables passed for the given email type;
- 6. Save the changes and click Show in Preview to display the data from the selected JSON in the template.
Now you can send a test email by entering the required email address in the Send test email field.
👍 More detailed information is available in the corresponding article How to send test emails?.
8. How to check the use of project variables in an email template?
Project variables are stored in the admin panel and are available for use in any type of email. Some standard variables, such as {{ project_logo }}, {{ legal_address }}, and {{ support_email }}, are provided by the Sendios team. Additionally, you can create custom variables in the Project Settings ⇾ Projects section.
It's important to note that project variables start with {{ project }}, for example, {{ project.sender_name }}. An exception is {{ legal_adress }}, which is written the same way as a dynamic one.
👍 More information about variables is available in the corresponding article Variables: their types and differences.
For example, in the screenshot below, you can see the variable "privacy_policy." To use it correctly in an email, it should be specified as {{ project.privacy_policy }}.
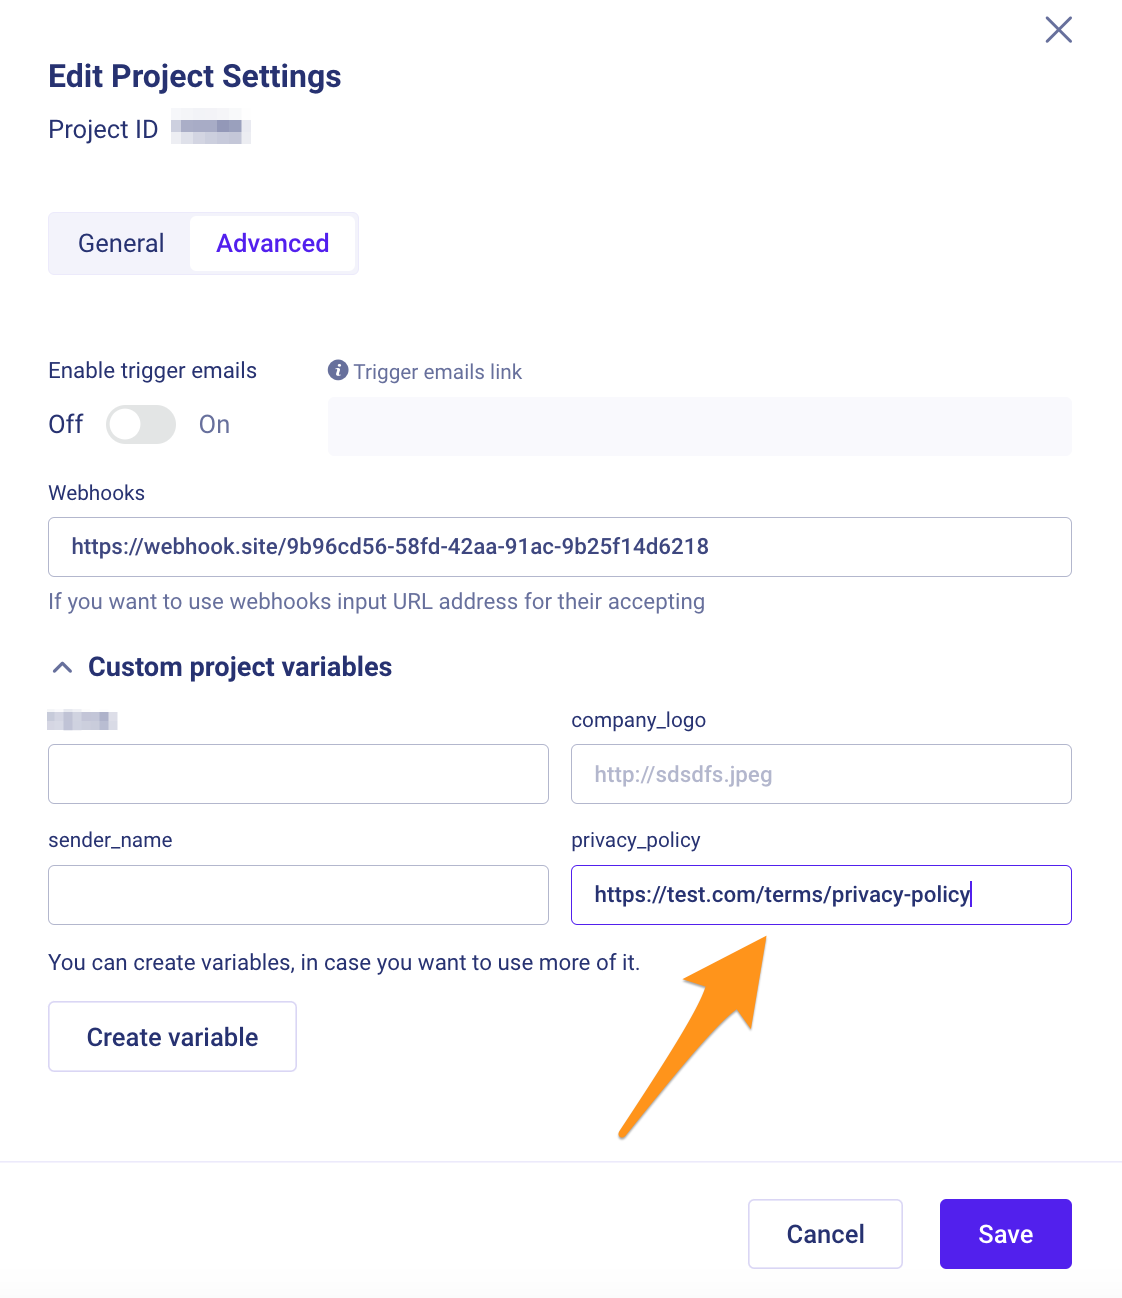
How to view all project variables?
To do so, go to Project Settings ⇾ Projects ⇾ Edit | View ⇾ Advanced ⇾ Custom project variables.
If you notice that the logo or address is not displayed, please let us know.
How to check the values of project variables?
- 1. Open the required template and click Preview;
- 2. In the Project variables section, choose the desired Project from the dropdown list;
- 3. Click Show in Preview.
Now you can send a test email by entering the required email address in the Send test email field.
👍 More detailed information is available in the corresponding article How to send test emails?.
9. Which email clients should be tested, as problems most often occur?
It is recommended to test on the following email clients:
- Gmail: both the web version and the mobile version on Android;
- Apple Mail;
- Outlook: special attention should be given to desktop versions for the Windows operating system.
10. Which services can be utilized to speed up the testing process?
You can use an online service to test how emails are displayed on various devices, such as Email on Acid.
Common mistakes in email layout
11. Changing the button link
It is essential to update the link not only on the button but also on the associated image because each image is wrapped into a link, providing users with an additional option to click and navigate to the intended page.

12. Changing button text
To modify the button text, it's recommended to review the "img" tags and update the text in the "alt" and "title" attributes. Additionally, it is crucial to preview in "Preview" mode to ensure the button remains functional on mobile devices.

13. Changing the image
Modifying the image could result in an uneven display on certain email clients, especially if static dimensions are set in the "img" tag.

For example, like this:

To prevent this, consider adjusting the dimensions for the new image or enabling automatic height adjustment proportional to the specified width. Ensure the width is set, specify "auto" for the height, and include the style "height: auto;" in the CSS for proper rendering.

14. Unclosed tags
When editing code, it's essential to keep in mind that paired tags must always be closed. Otherwise, the email may display incorrectly.
Pay attention to the prompts:

15. Malfunction of the "if" function
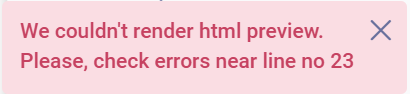
If you make changes to the "if" function or any other and introduce an error in the structure, the system will alert you, and the template will not be saved with an error.
For example, if you forget to close the parentheses in the function:
     {% if photo is not empty %}
     Img1
     {% else %}
     Img2
     {% endif %}
In the Preview section, there will be an error warning.
Updated over 2 years ago