How to create a Project?
The Project is your platform, website, or application where you manage all the essential information about your product. You can have one or several projects in the system.
To begin working with projects, you need to configure the Sender Domain. Also, if you want to track links and their opening from emails using Sendios, configure the Tracking Domain.
Once the sender and tracking domains are configured and verified, you can proceed with the Project creation.
1. Creating a new Project
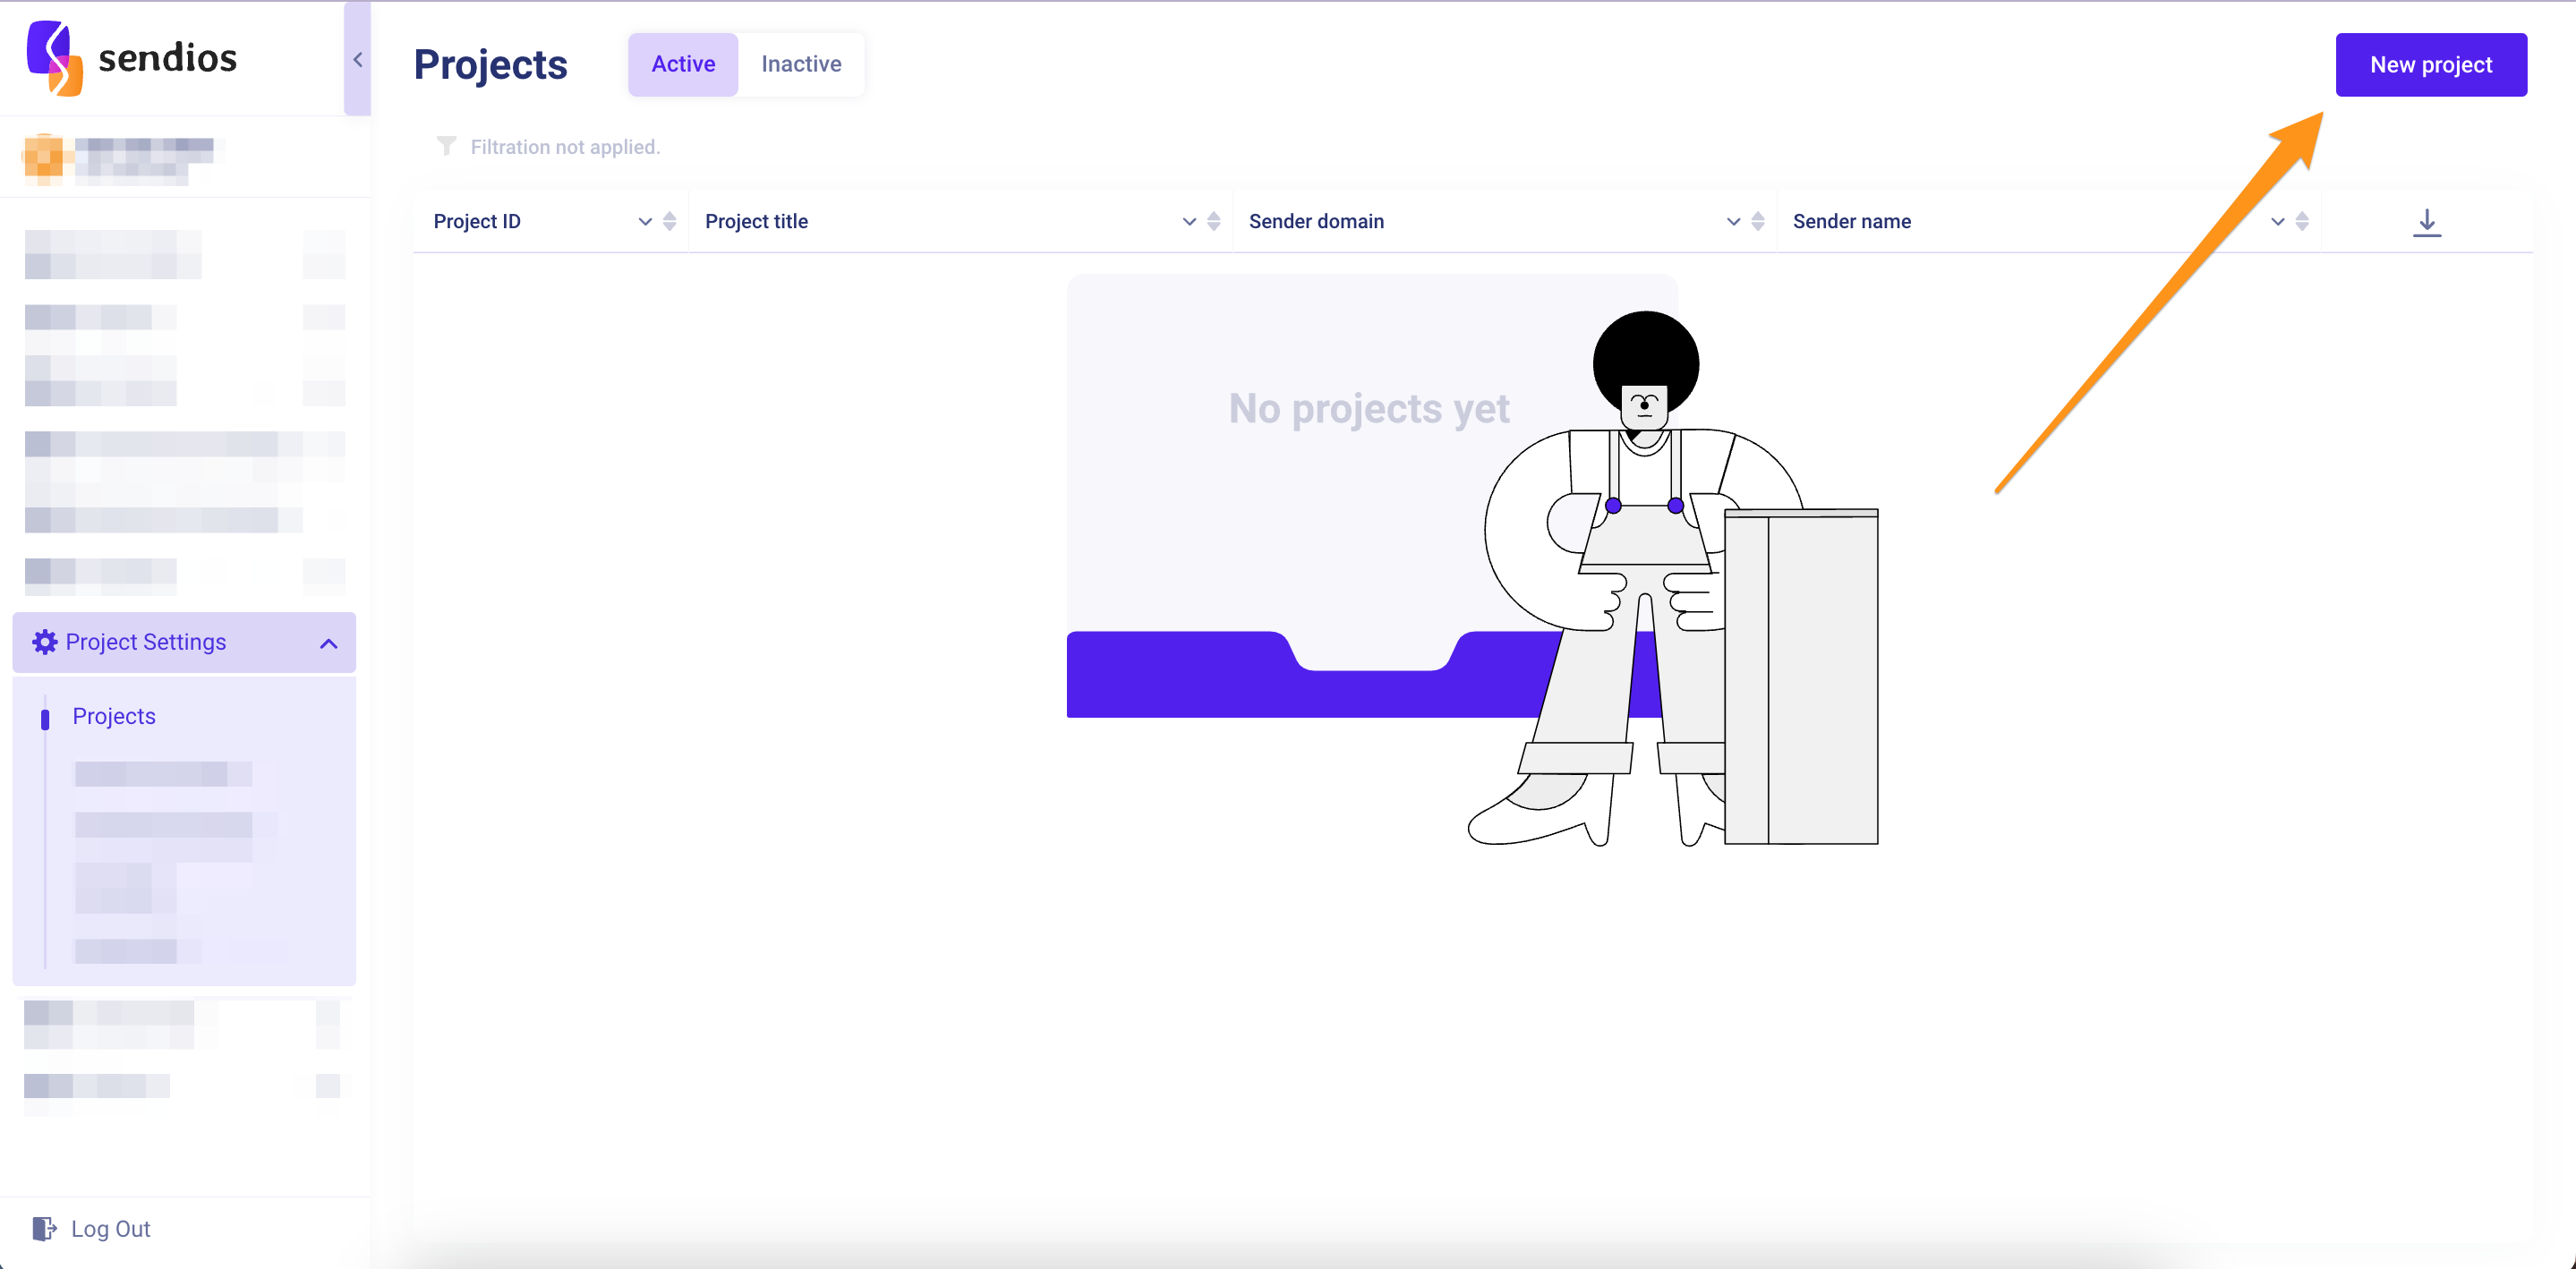
Go to Project Settings → Projects and click New project.
2. Initial settings
- Enter the name of the Project in the Project title field;
- Select the Sender Domain for this Project from the Sender Domain drop-down list. All email sendings within the Project will originate from this Domain.
Please make sure that your Sender Domain is verified, otherwise, there will be the "(unverified)" flag displayed next to it. Although it is possible to create a Project with an unverified Domain, you won't be able to use it for sending emails.
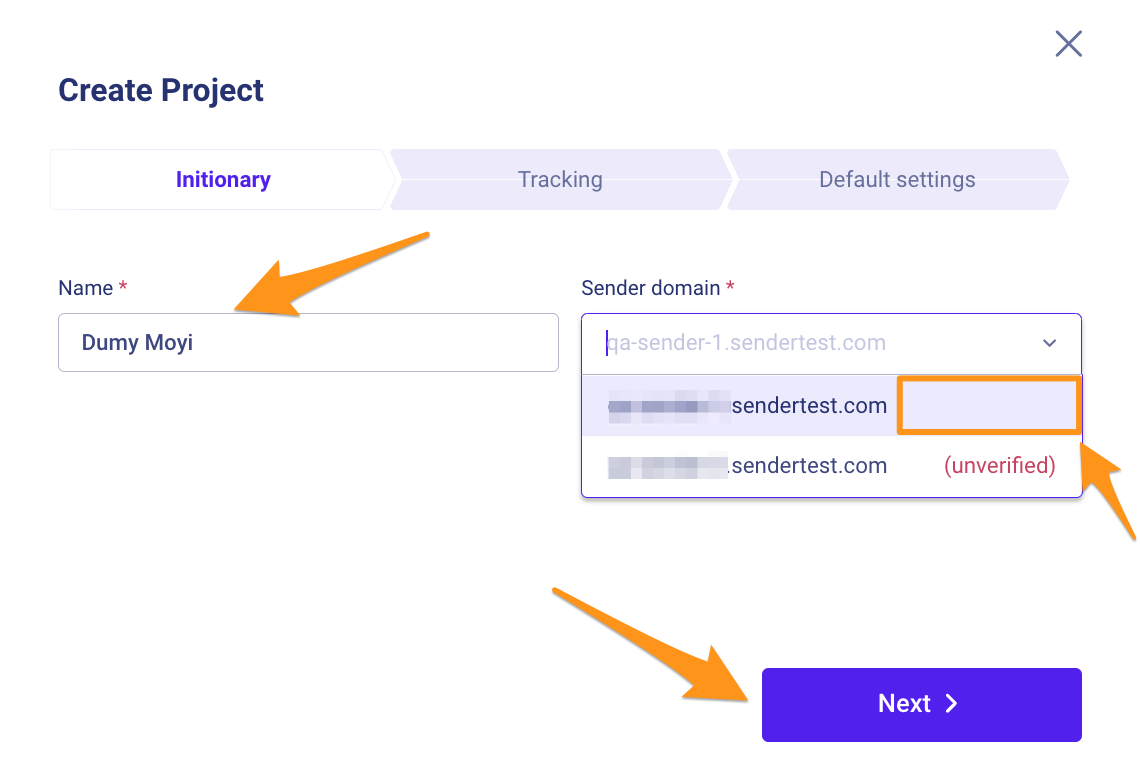
Click Next after filling in the required information.
3. Tracking settings
- On the Tracking tab, you can disable click tracking and skip this step of your Project configuration. However, if you wish to track email opens and link clicks, enable this feature. The settings can be changed anytime on the Project settings page.
- If the Click / open tracking function is enabled, select the desired Tracking Domain from the Tracking Domain drop-down list.
For more information on the tracking process, refer to the article How does the tracking process work?.
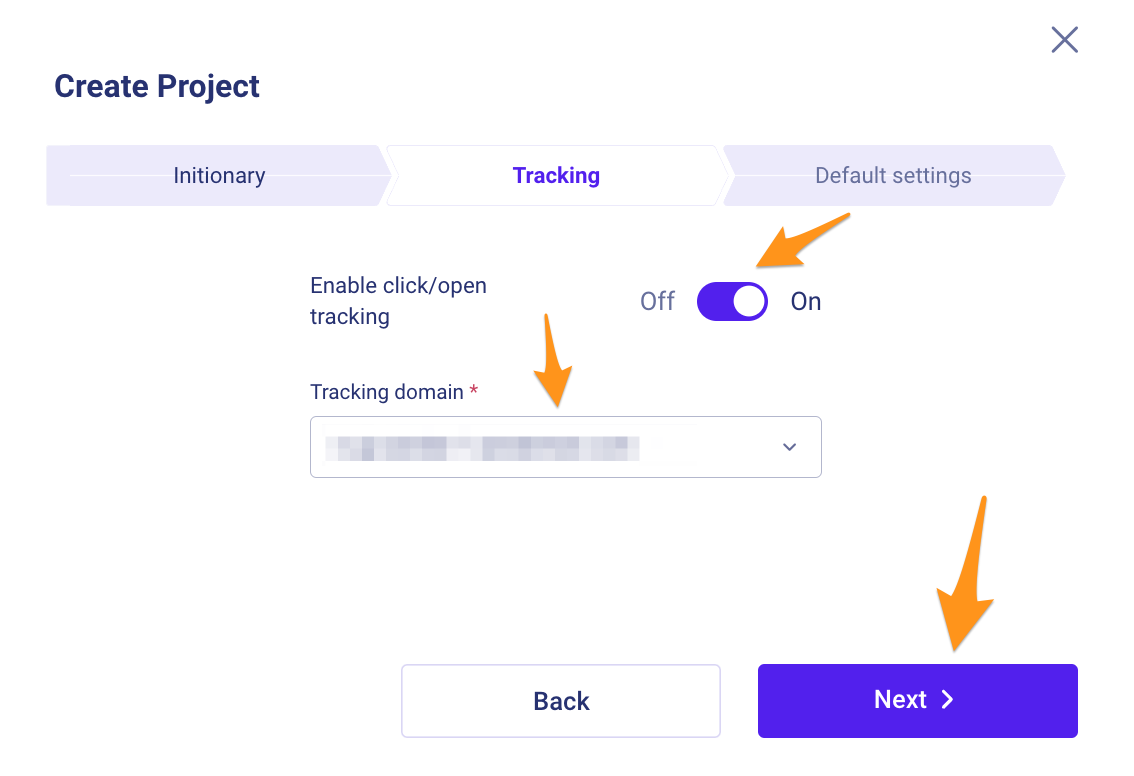
If you have an integration with AppsFlyer / Adjust or intend to create one, consult with your CSM (Customer Success Manager) regarding the need for Sendios tracking.
Click Next to proceed to the last step of Project creation, which is Default settings.
4. Default settings
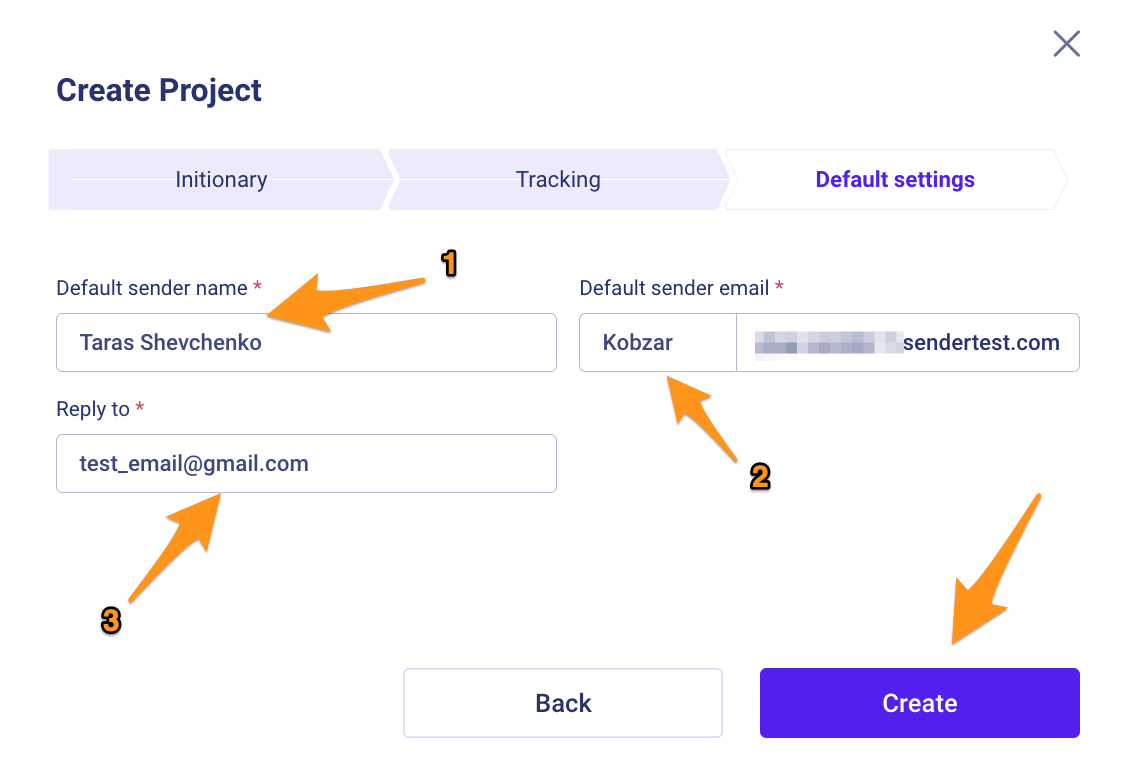
In this section, three required fields need to be filled:
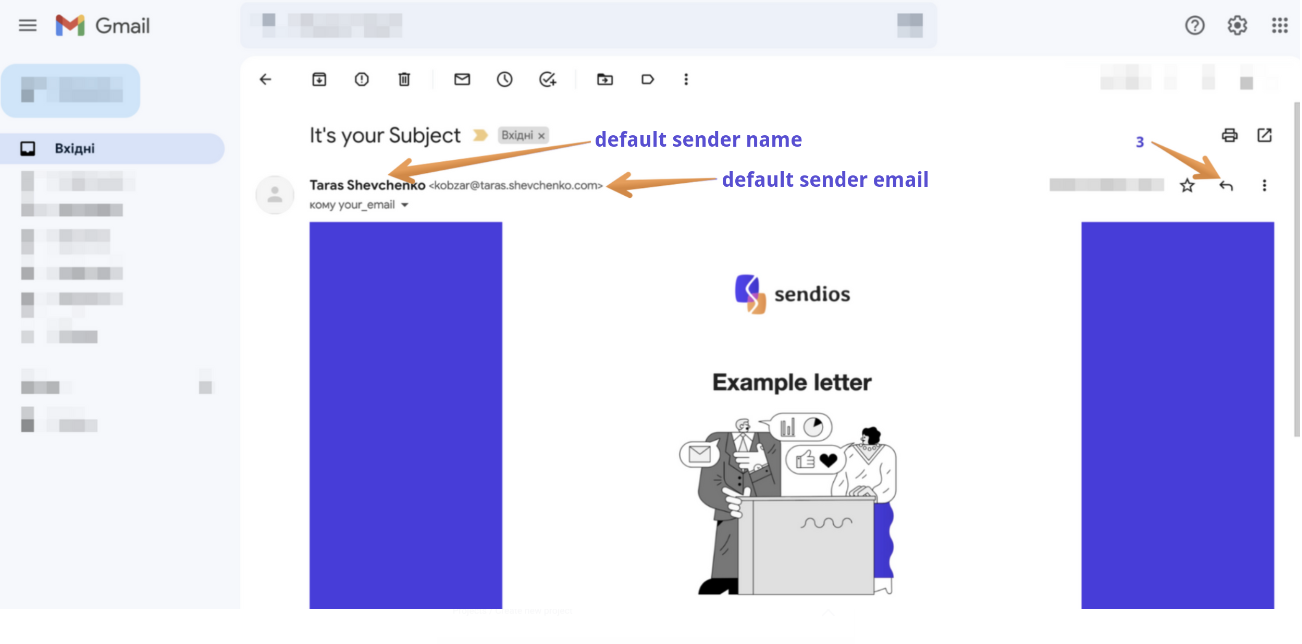
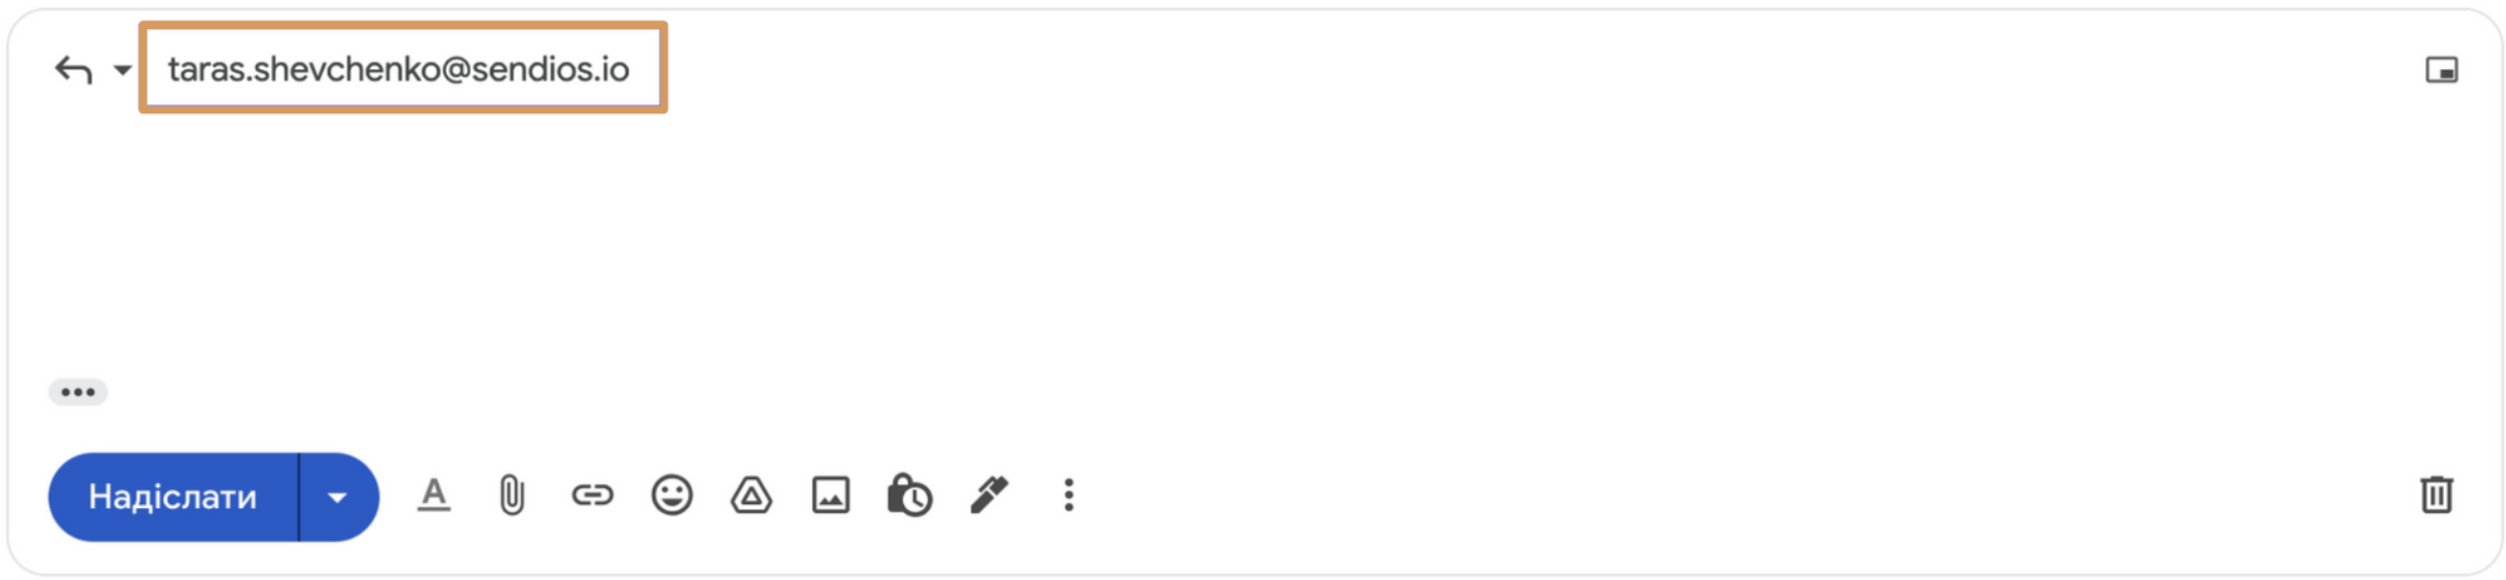
- Default sender name – the name that recipients will see as the sender of the email;
- Default Sender email – the email address from which the email is sent;
- Reply to – the email address to which replies to your email will be directed. It may or may not be the same as the sender's email.
All these fields have default values. You can customize these values for each transactional email and marketing campaign. If not customized, the default values set here in the Project settings will be used.
Here is an example of how it looks like in an email:
5. Saving a Project
Click Save, and your Project will be created:
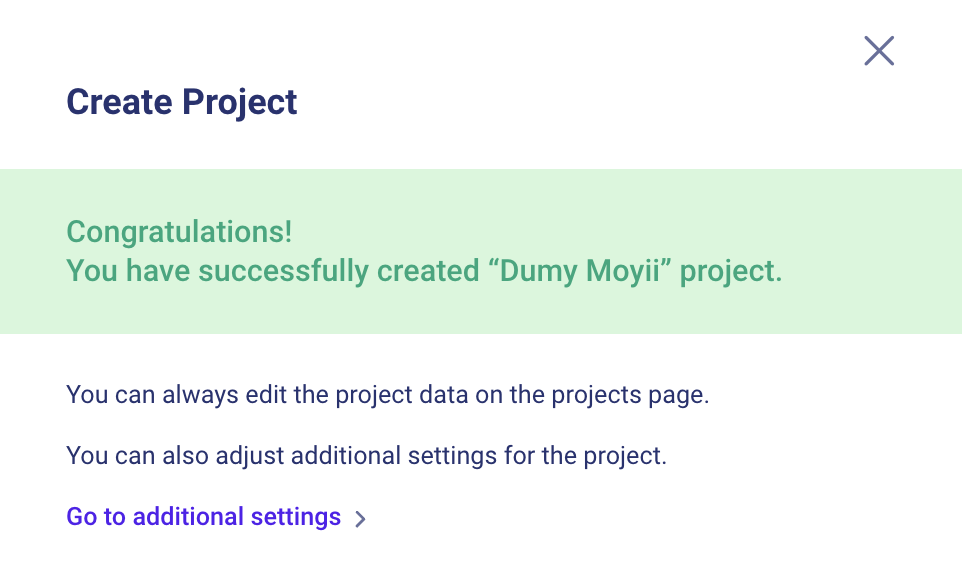
Additional settings can be adjusted by clicking the Go to additional settings button or, later on, the Project Settings page.
Updated over 2 years ago