Crowdin Integration
The article provides step-by-step instructions for setting up the integration with Crowdin for product localization.
Crowdin is a cloud-based solution designed to simplify the localization management for your product.
- Registering with Crowdin: Start by signing up on the Crowdin platform;
If you intend to use a free account, remember that it allows to create only one private project.
- Generating an API key: After logging in, navigate to the Account Settings page. Click on New Token and enter a name for your token. Be sure to copy the token and click Create;
- Sharing information: Share the name of the copied token with your Customer Success Manager;
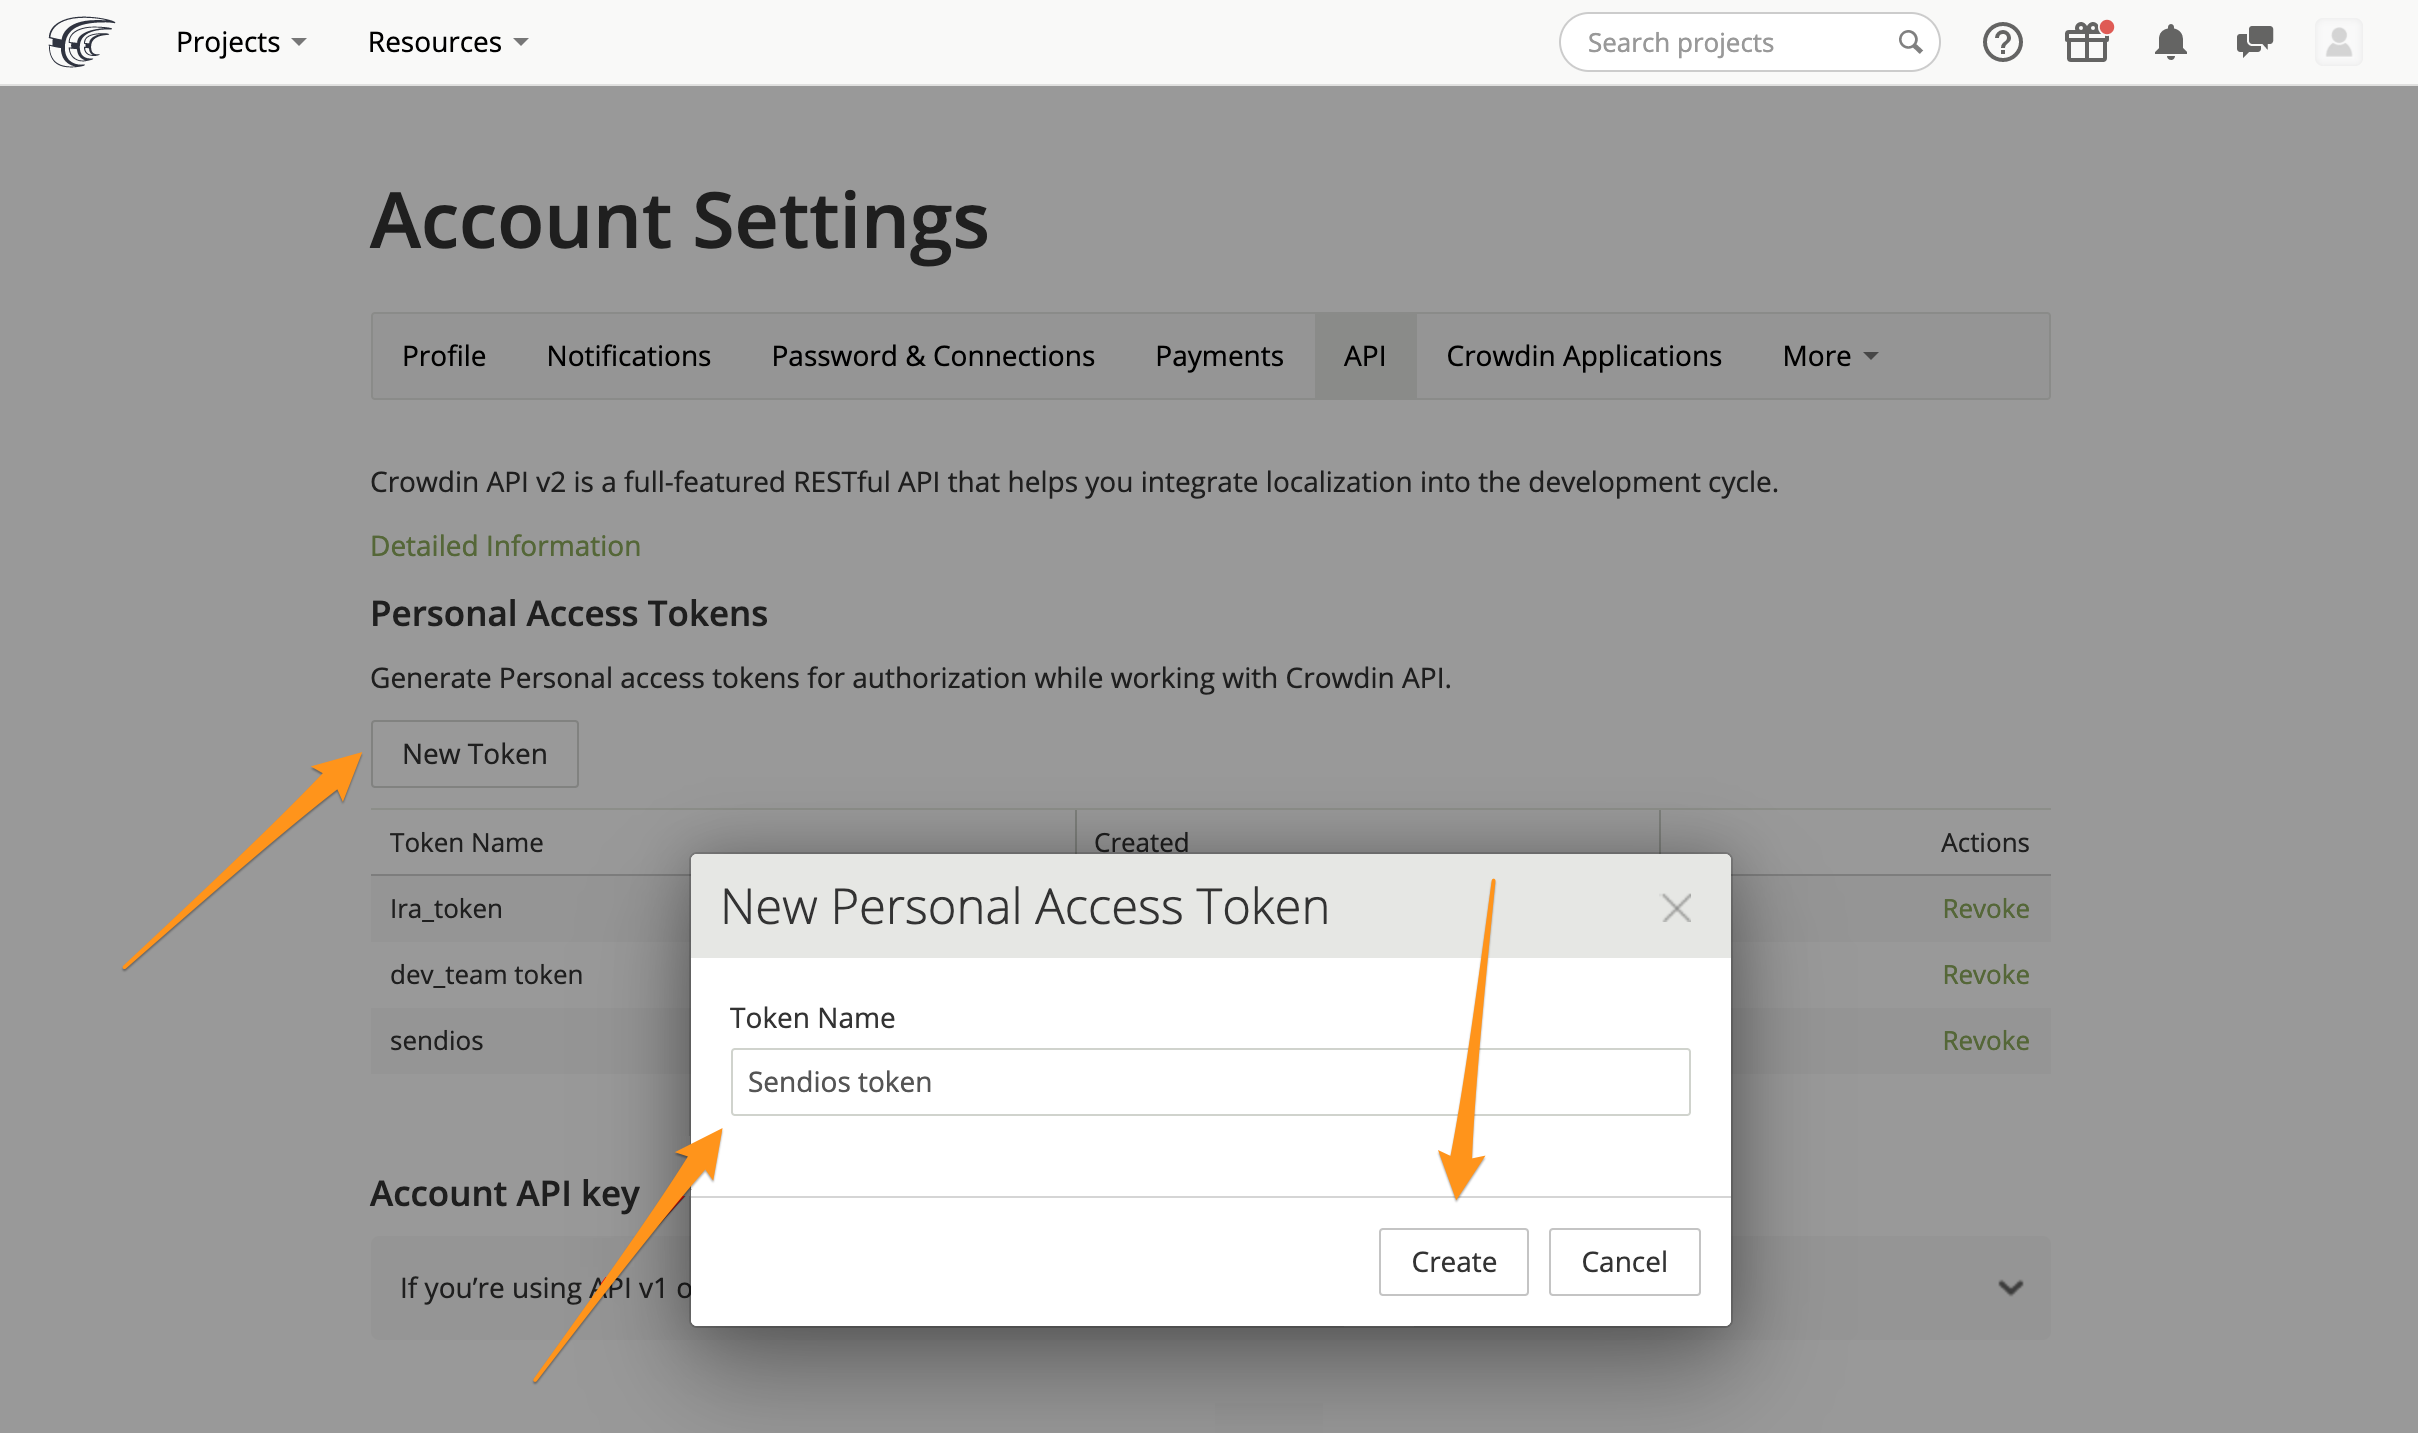
Important: If you don't copy the token and close the window, you will need to generate it again since the system won't allow you to view it after closing the modal window.
- Selecting languages for translations: Inform your Customer Success Manager about the translation languages. Determine the following parameters:
-
Source language: The language from which translations will be made. This is the language used for creating all email templates and subjects;
-
Translation languages: The languages to which emails will be translated.
If there are dialect-specific considerations, please inform us, as the translation system uses extended language codes, such as "Es-es" for Spanish, "En-US" for American English, etc.
Please note that if you wish to change (add or remove) translation languages, be sure to inform your Customer Success Manager, as this requires configuration adjustments on our side.
Adding new translation languages is a time-consuming process, so please be careful when choosing languages and integrating translations.
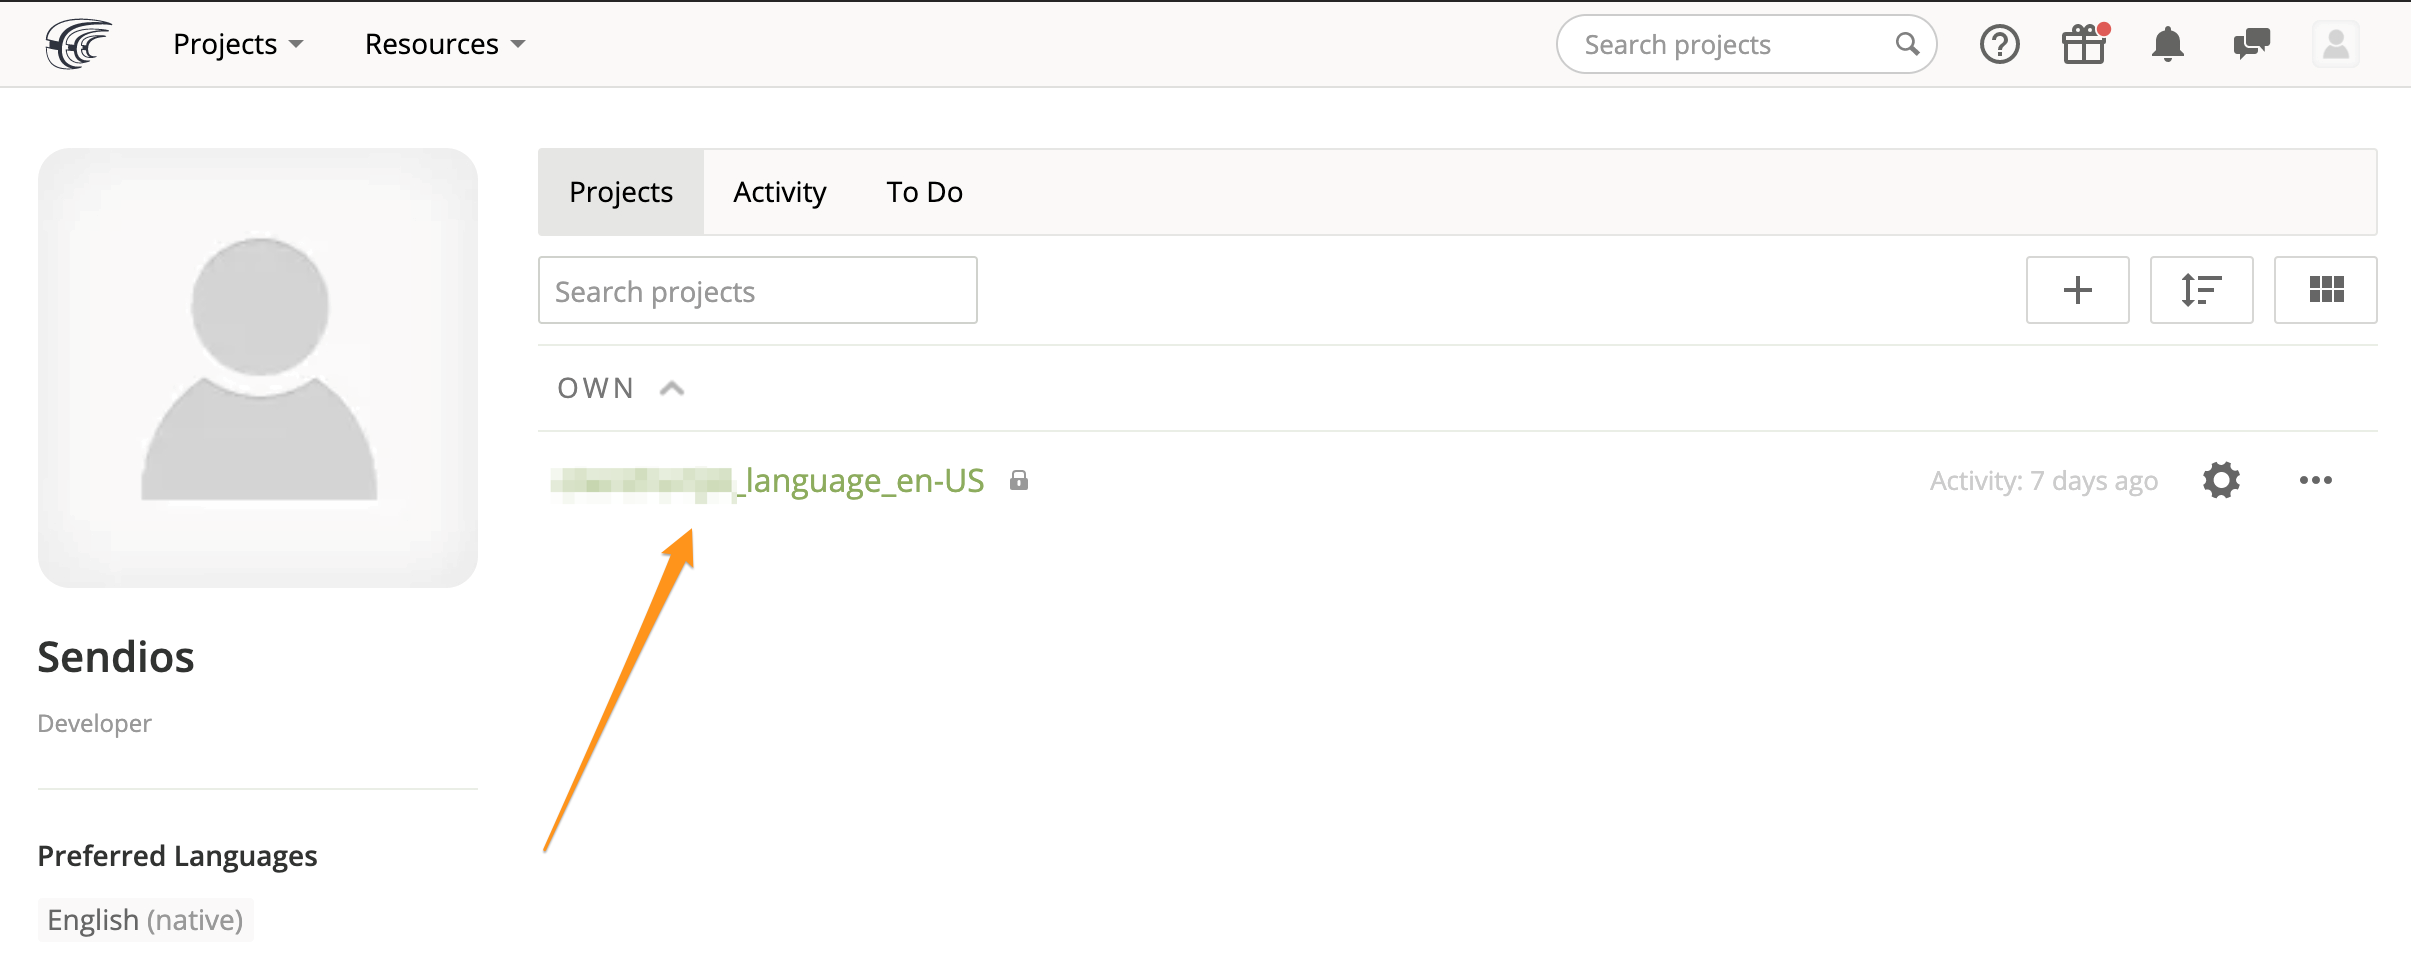
- Creating a private Crowdin project: Using the generated token you provided your Customer Success Manager with, our developers will create a private project on Crowdin platform for translating emails into the required languages. We will also add our webhook endpoint to the project's settings to receive automatic notifications when the translations are ready;
- Integration testing: The final step is to test the integration's success and ensure the system is ready for operation.
By following these steps, you'll be able to establish an integration with Crowdin and start localizing your product.
Updated over 2 years ago