Uploading a CSV file
In this article, we'll cover the key aspects of uploading a CSV file with users and provide guidance on the correct data format and structure.
Uploading a list of users into the system is a crucial step for conducting effective marketing campaigns and trigger sendings. Properly formatting and structuring a CSV file containing user data can streamline this process.
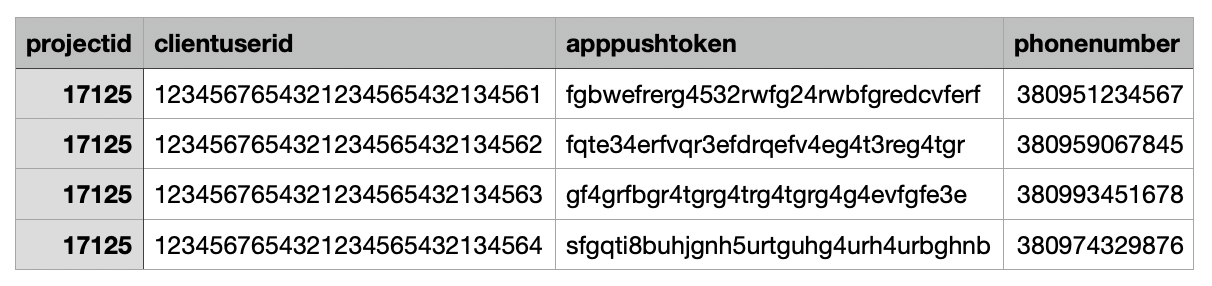
1. Mandatory fields: Project ID, Client User ID, and communication channel
Your first step when preparing a CSV file should be to include the mandatory fields: Project ID (labelled as "projectid" in the table) and Client User ID ("ClientUserId" in the table). The Project ID serves as a unique identifier for your Project, while the Client User ID is the user identifier in your database and communication channel data.
The length of the Client User ID parameter must not exceed 36 characters.
Specifying communication channel data
Effective communication with users requires their contact information. You must include at least one of the available communication channels for each user:
- email address,
- phone number,
- app push token (an identifier for app notifications).
Each user in a CSV file must have at least one of these fields filled out to enable email, message, or notification delivery and interaction through various channels. Place these fields at the beginning of your CSV file columns to ensure accurate user identification during data upload.

You can specify information about several or all communication channels for one user if necessary.
These fields must occupy the first columns in your CSV file to ensure accurate user identification during data upload.
2. Data format and column names
To prevent issues during CSV file processing, adhere to specific rules for data format and column names:
- Required Information – column names must match the following precisely, without any alterations or special characters. This ensures accurate data recognition by the system:
- Project ID – projectidl;
- Client User ID – clientuserid;
- Email – email;
- Phone number – phonenumber;
- App push token – apppushtoken.
To add these data in templates as variables, use the syntax
{{ user.VariableName }}, for example {{user.email}}.
- Additional Data – all other columns beyond the required fields may contain user data, such as names, addresses, interests, etc. This data can be used for marketing campaigns and trigger sendings. It's essential that these column names are written as a single word or separated by underscores, without periods or spaces. For example, "First Name" can be written as "first_name" or "FirstName." These column names can be used as variables with the help of the syntax
{{ user.camp\_VariableName }}, for instance: {{ user.camp_first_name }}.
Both
;and,can be used as delimiters in a CSV file.
3. The result of a CSV file upload
You can upload a CSV file when creating a static segment.
More information can be found in the article How to create a segment?.
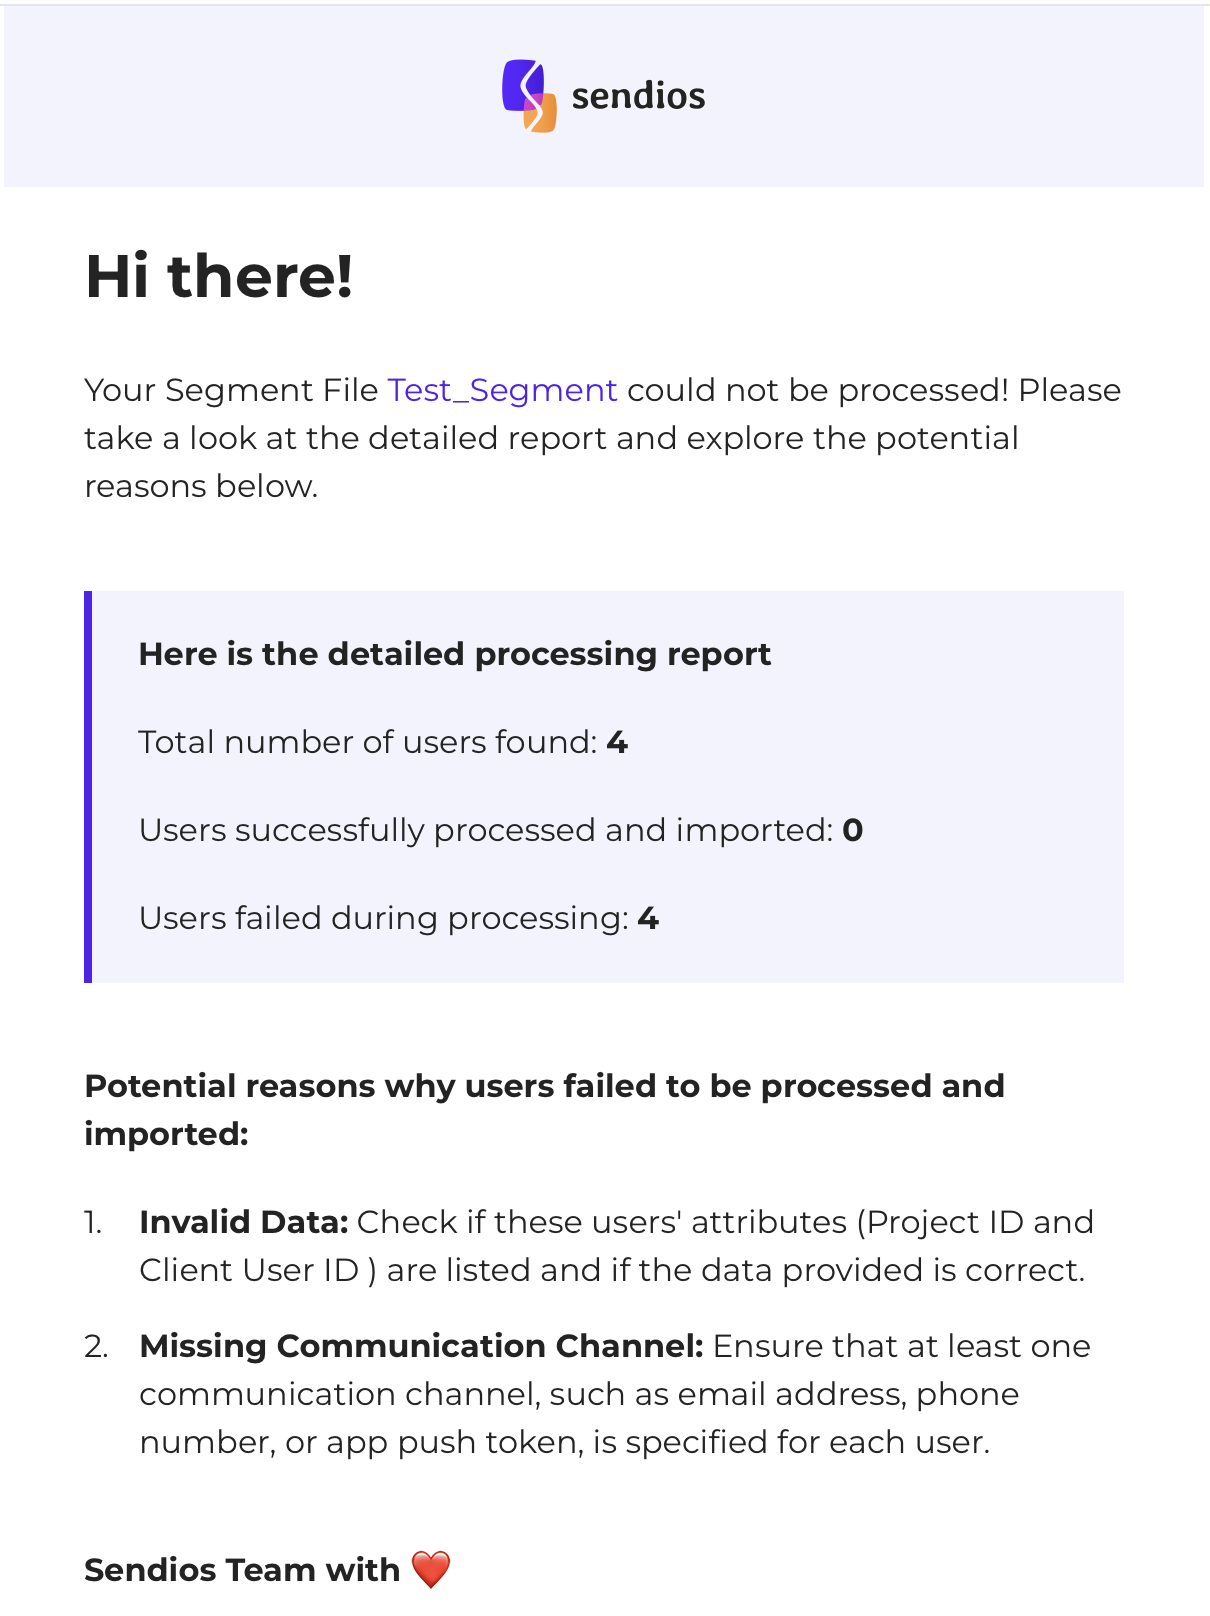
After processing your CSV file, you will receive an email notification containing the outcomes of the upload process. These outcomes can be categorized as:
- Processed successfully – all users listed in a CSV file have been successfully added to the system;
- Processed partially – a CSV file was processed, but some users were not created due to incomplete data or incorrectly provided information, such as an incorrect data format;
- Processing failed – a file could not be processed, resulting in no user creation / update within the system.

User information that already exists in the system is refreshed and modified when uploading a CSV file.
This allows you to keep your user data accurate and up-to-date by synchronizing it with the information provided in a CSV file. When a CSV file is imported, the system checks for existing user records and updates their details if any changes are detected.
4. Common reasons for CSV file processing failures
Here are two common reasons why your CSV file might not be processed:
- Invalid data – check if these users' attributes (Project ID and Client User ID) are provided and if the data is accurate.
- Missing communication channel – ensure that at least one communication channel (email address, phone number, or app push token) is specified for each user.
After troubleshooting a CSV file, upload it again.
By meticulously preparing your CSV file following the guidelines above, you'll be well-prepared to engage effectively with your users and supercharge your marketing efforts.
Updated over 2 years ago